Wednesday, May 30, 2018

Graduation Gift Idea

Today is a big day for us here - my daughter graduates from high school and we are in full party prep mode but I wanted to share a cute gift idea with you.


This idea is a unique way to give money to a graduate. 


Cute right? 


Let’s get started 

Here are the supplies you’ll need to make this 


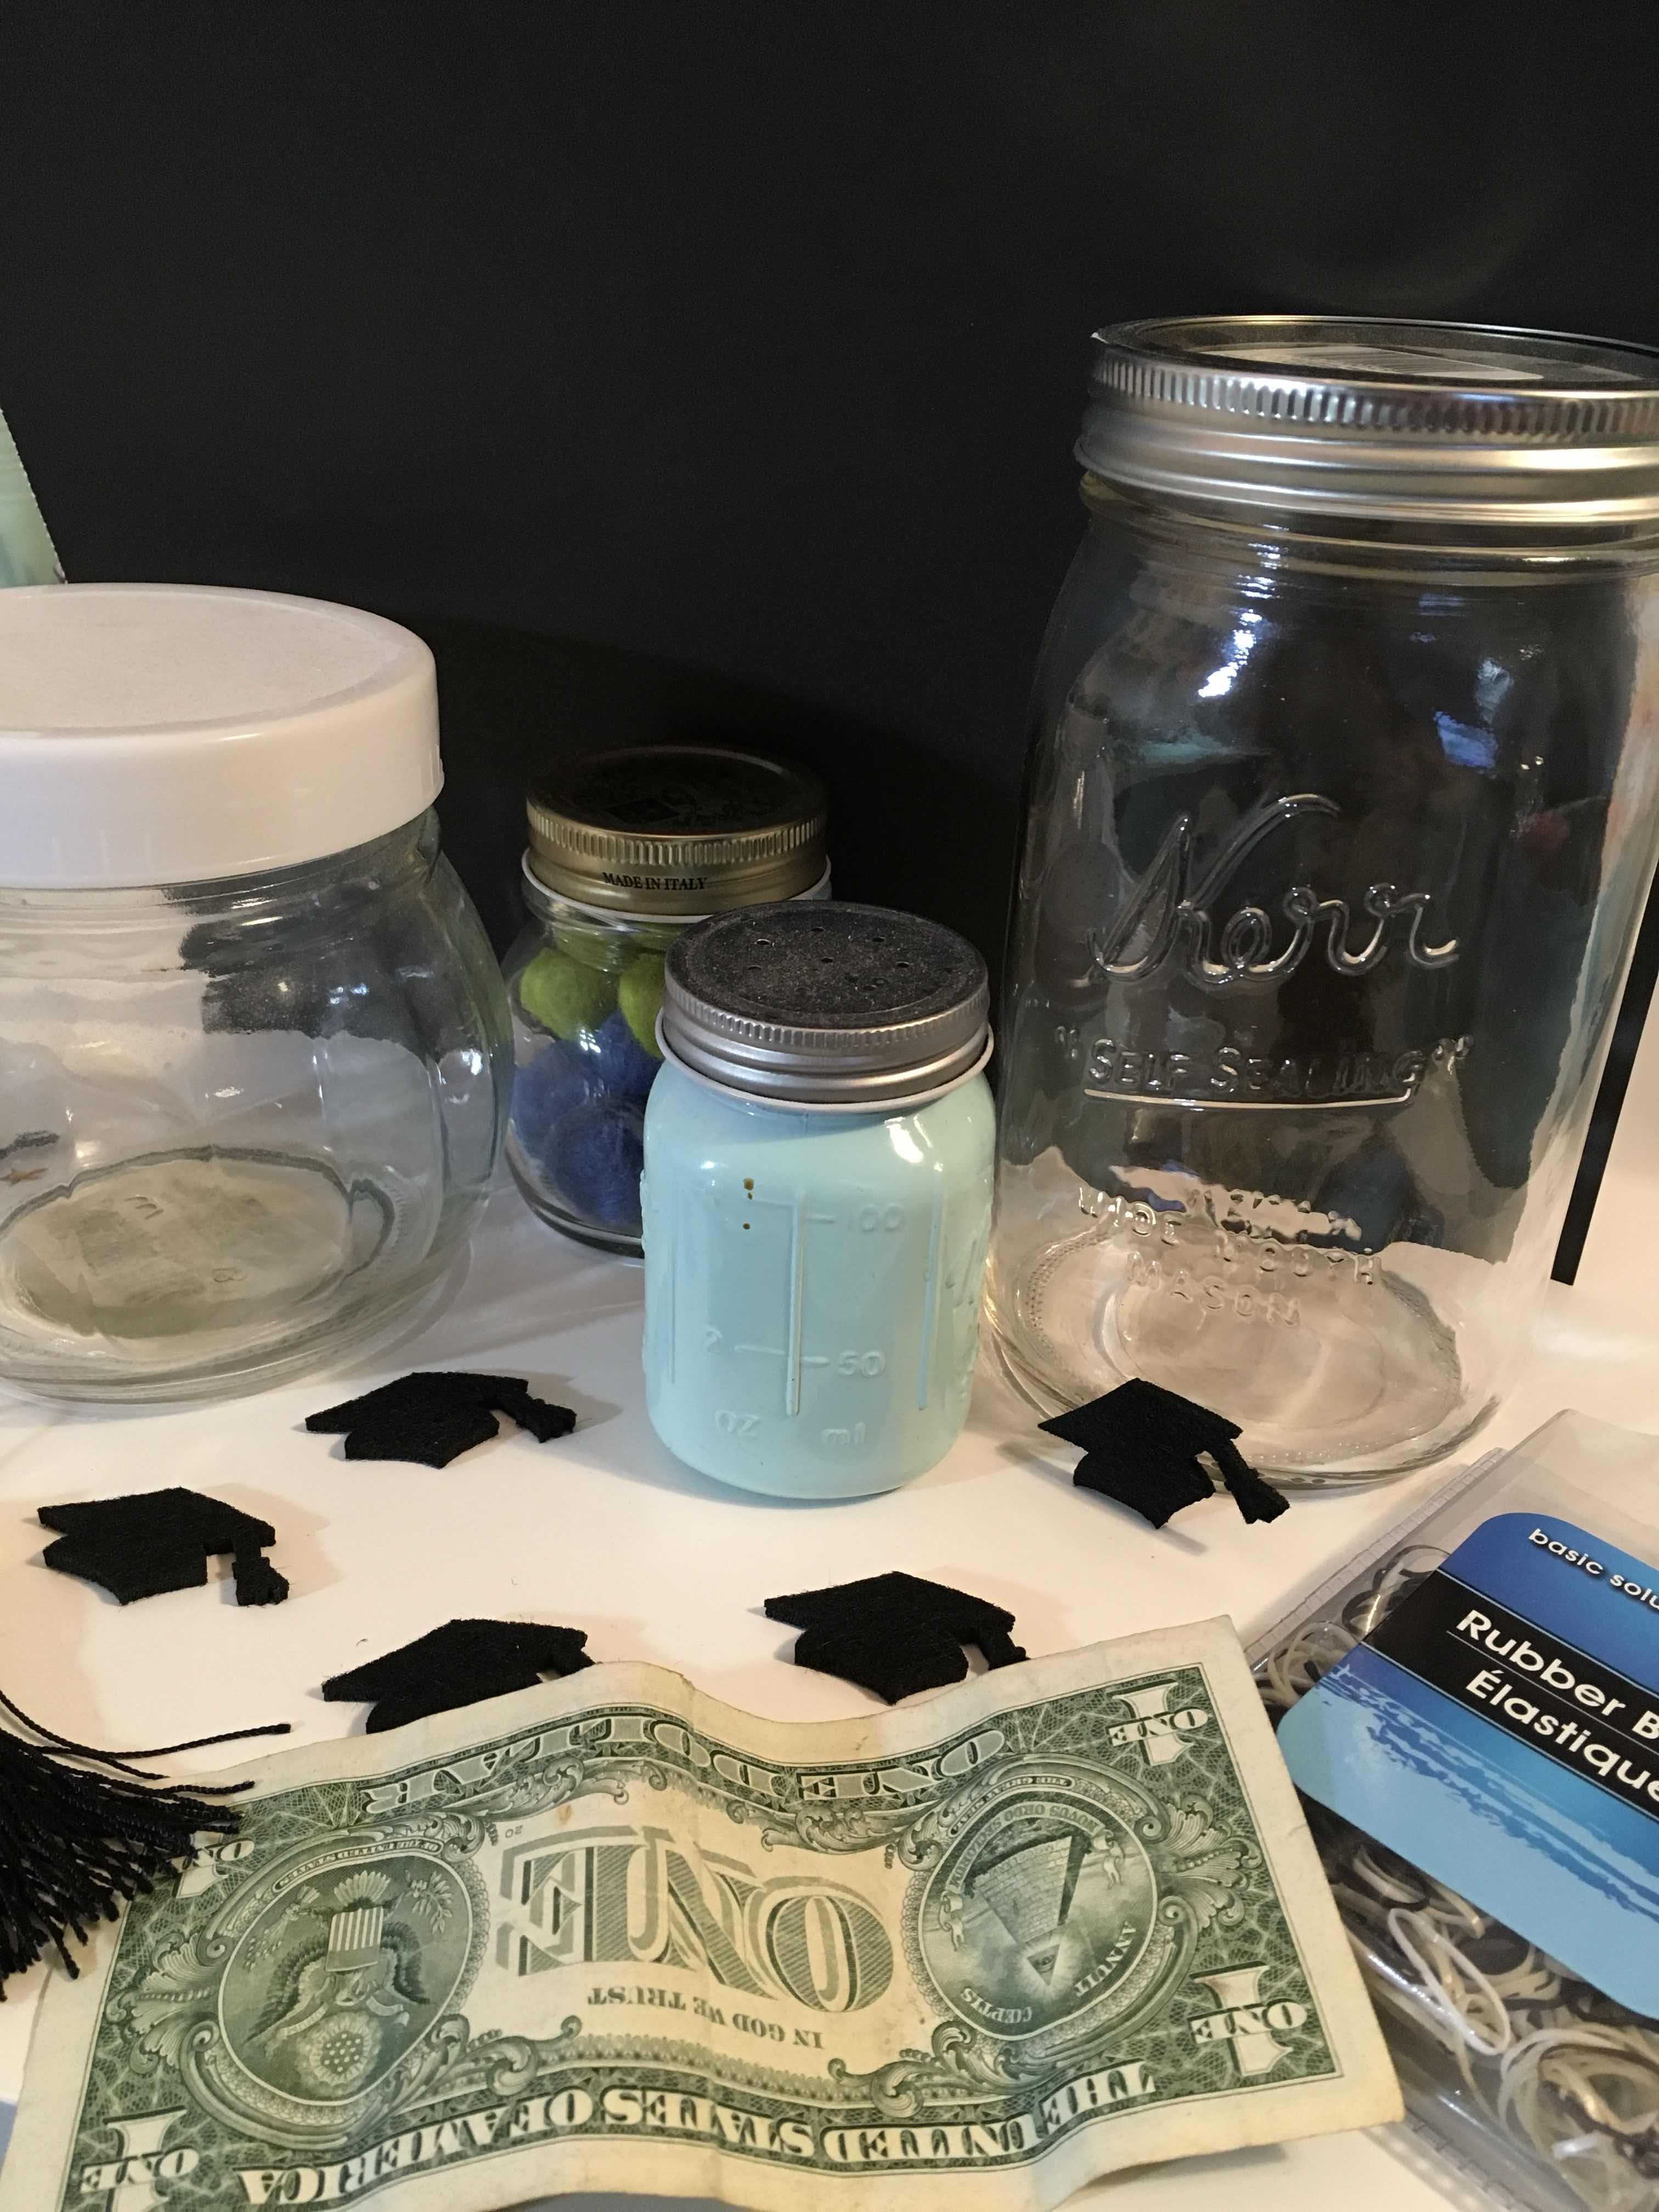
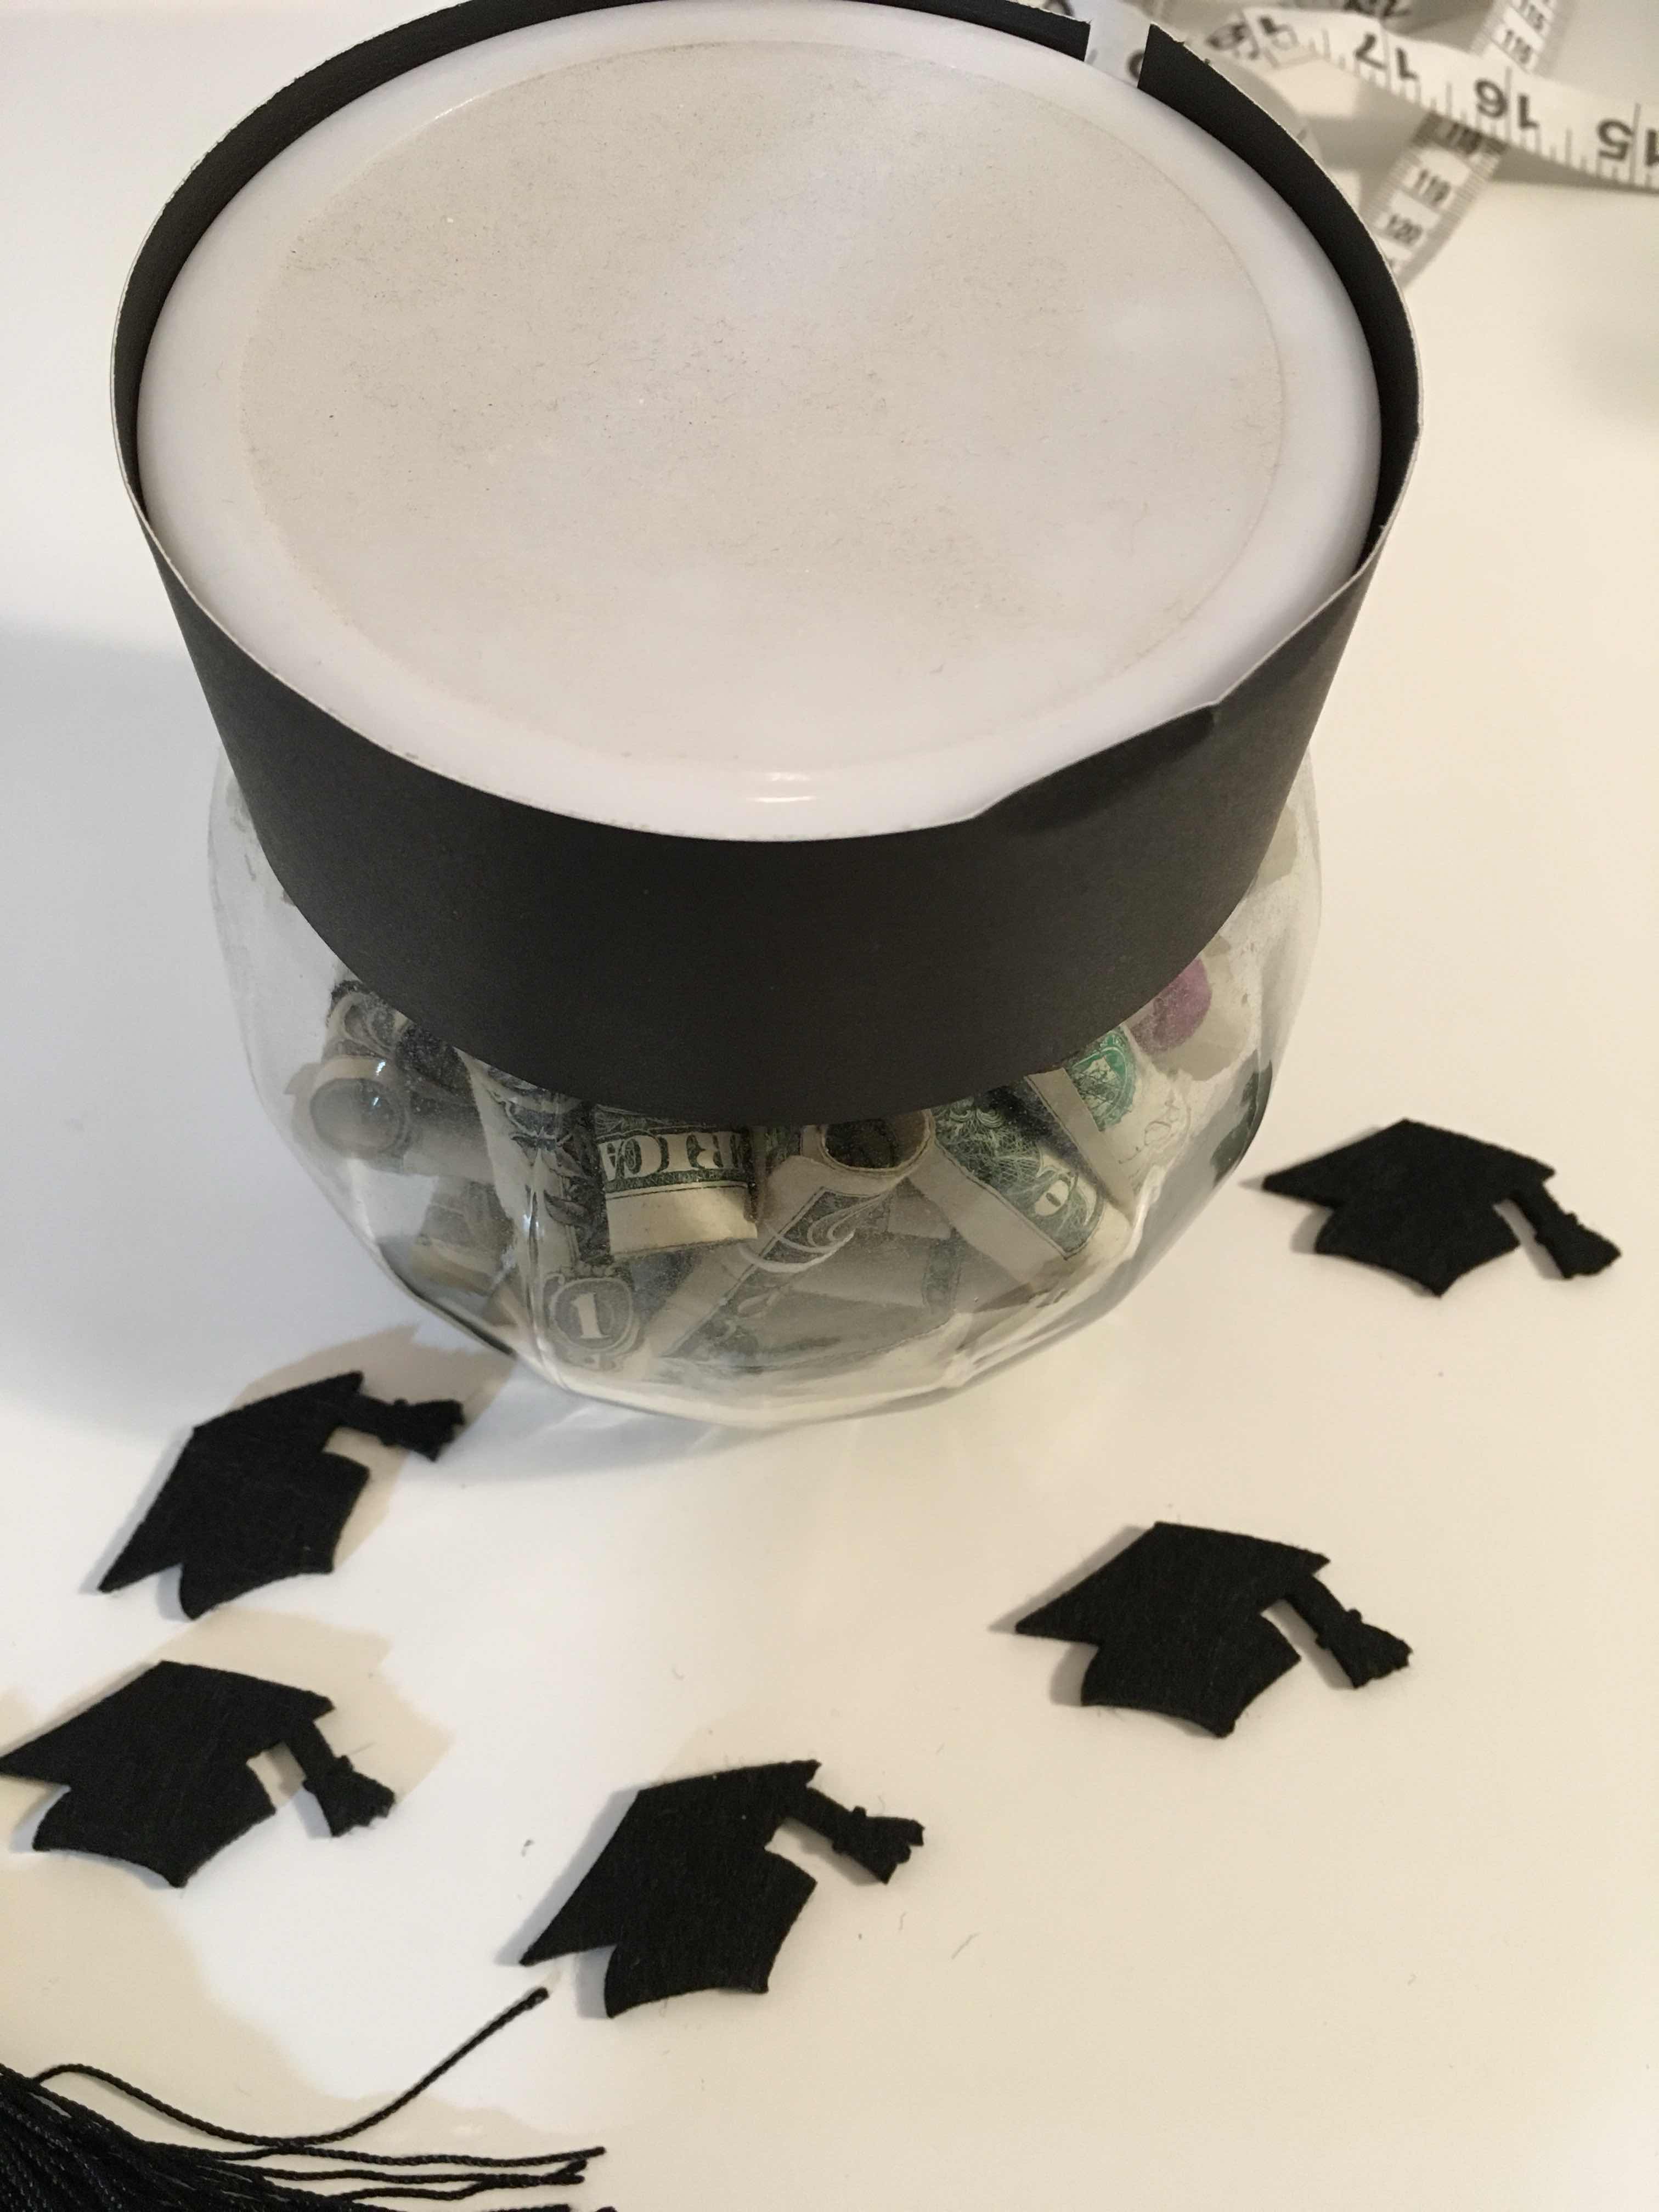
First would be picking your jar. This is for my daughter, so I am packaging 100.00 - mostly ones, some 5.00s, a couple of 10.00s and 1 twenty... I used the jar on the left with the white cap. I had it  already but I know bought it at the dollar store.

See that there mason jar?

Pretty sure it can hold 250.00 to 300.00 - I bought that one originally but my 100 bucks only filled 1/4 of the jar - doh! 


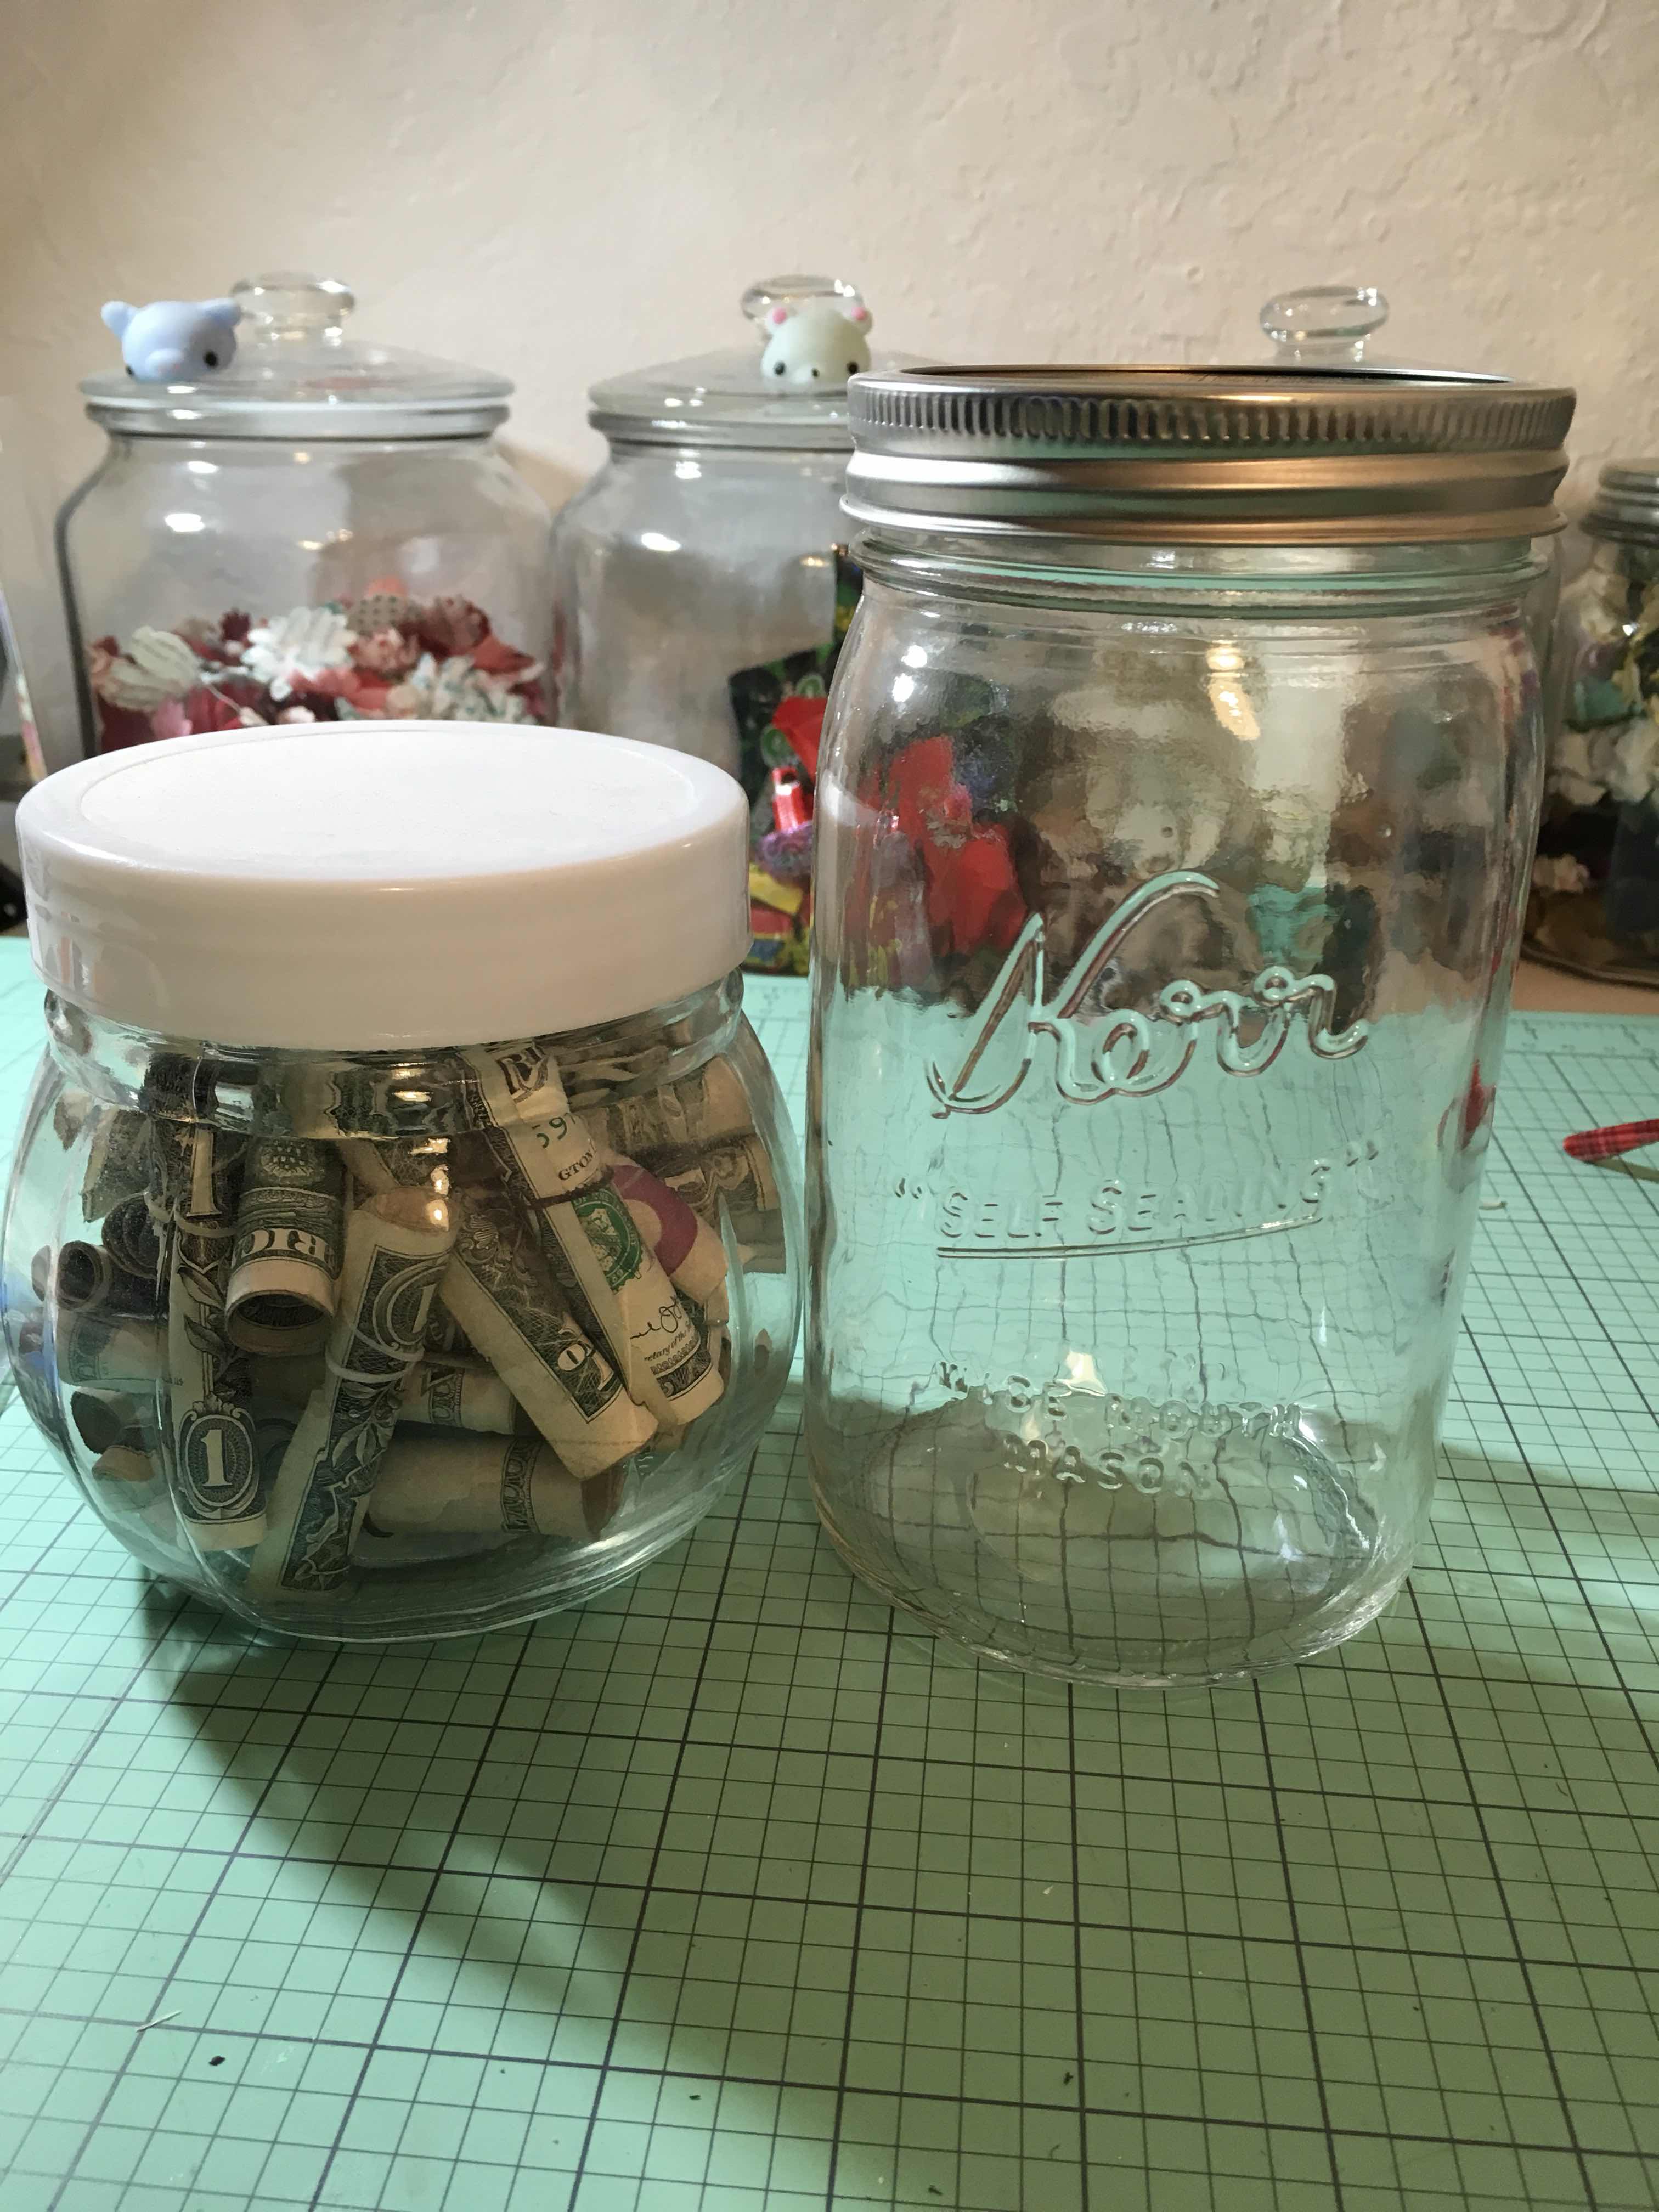
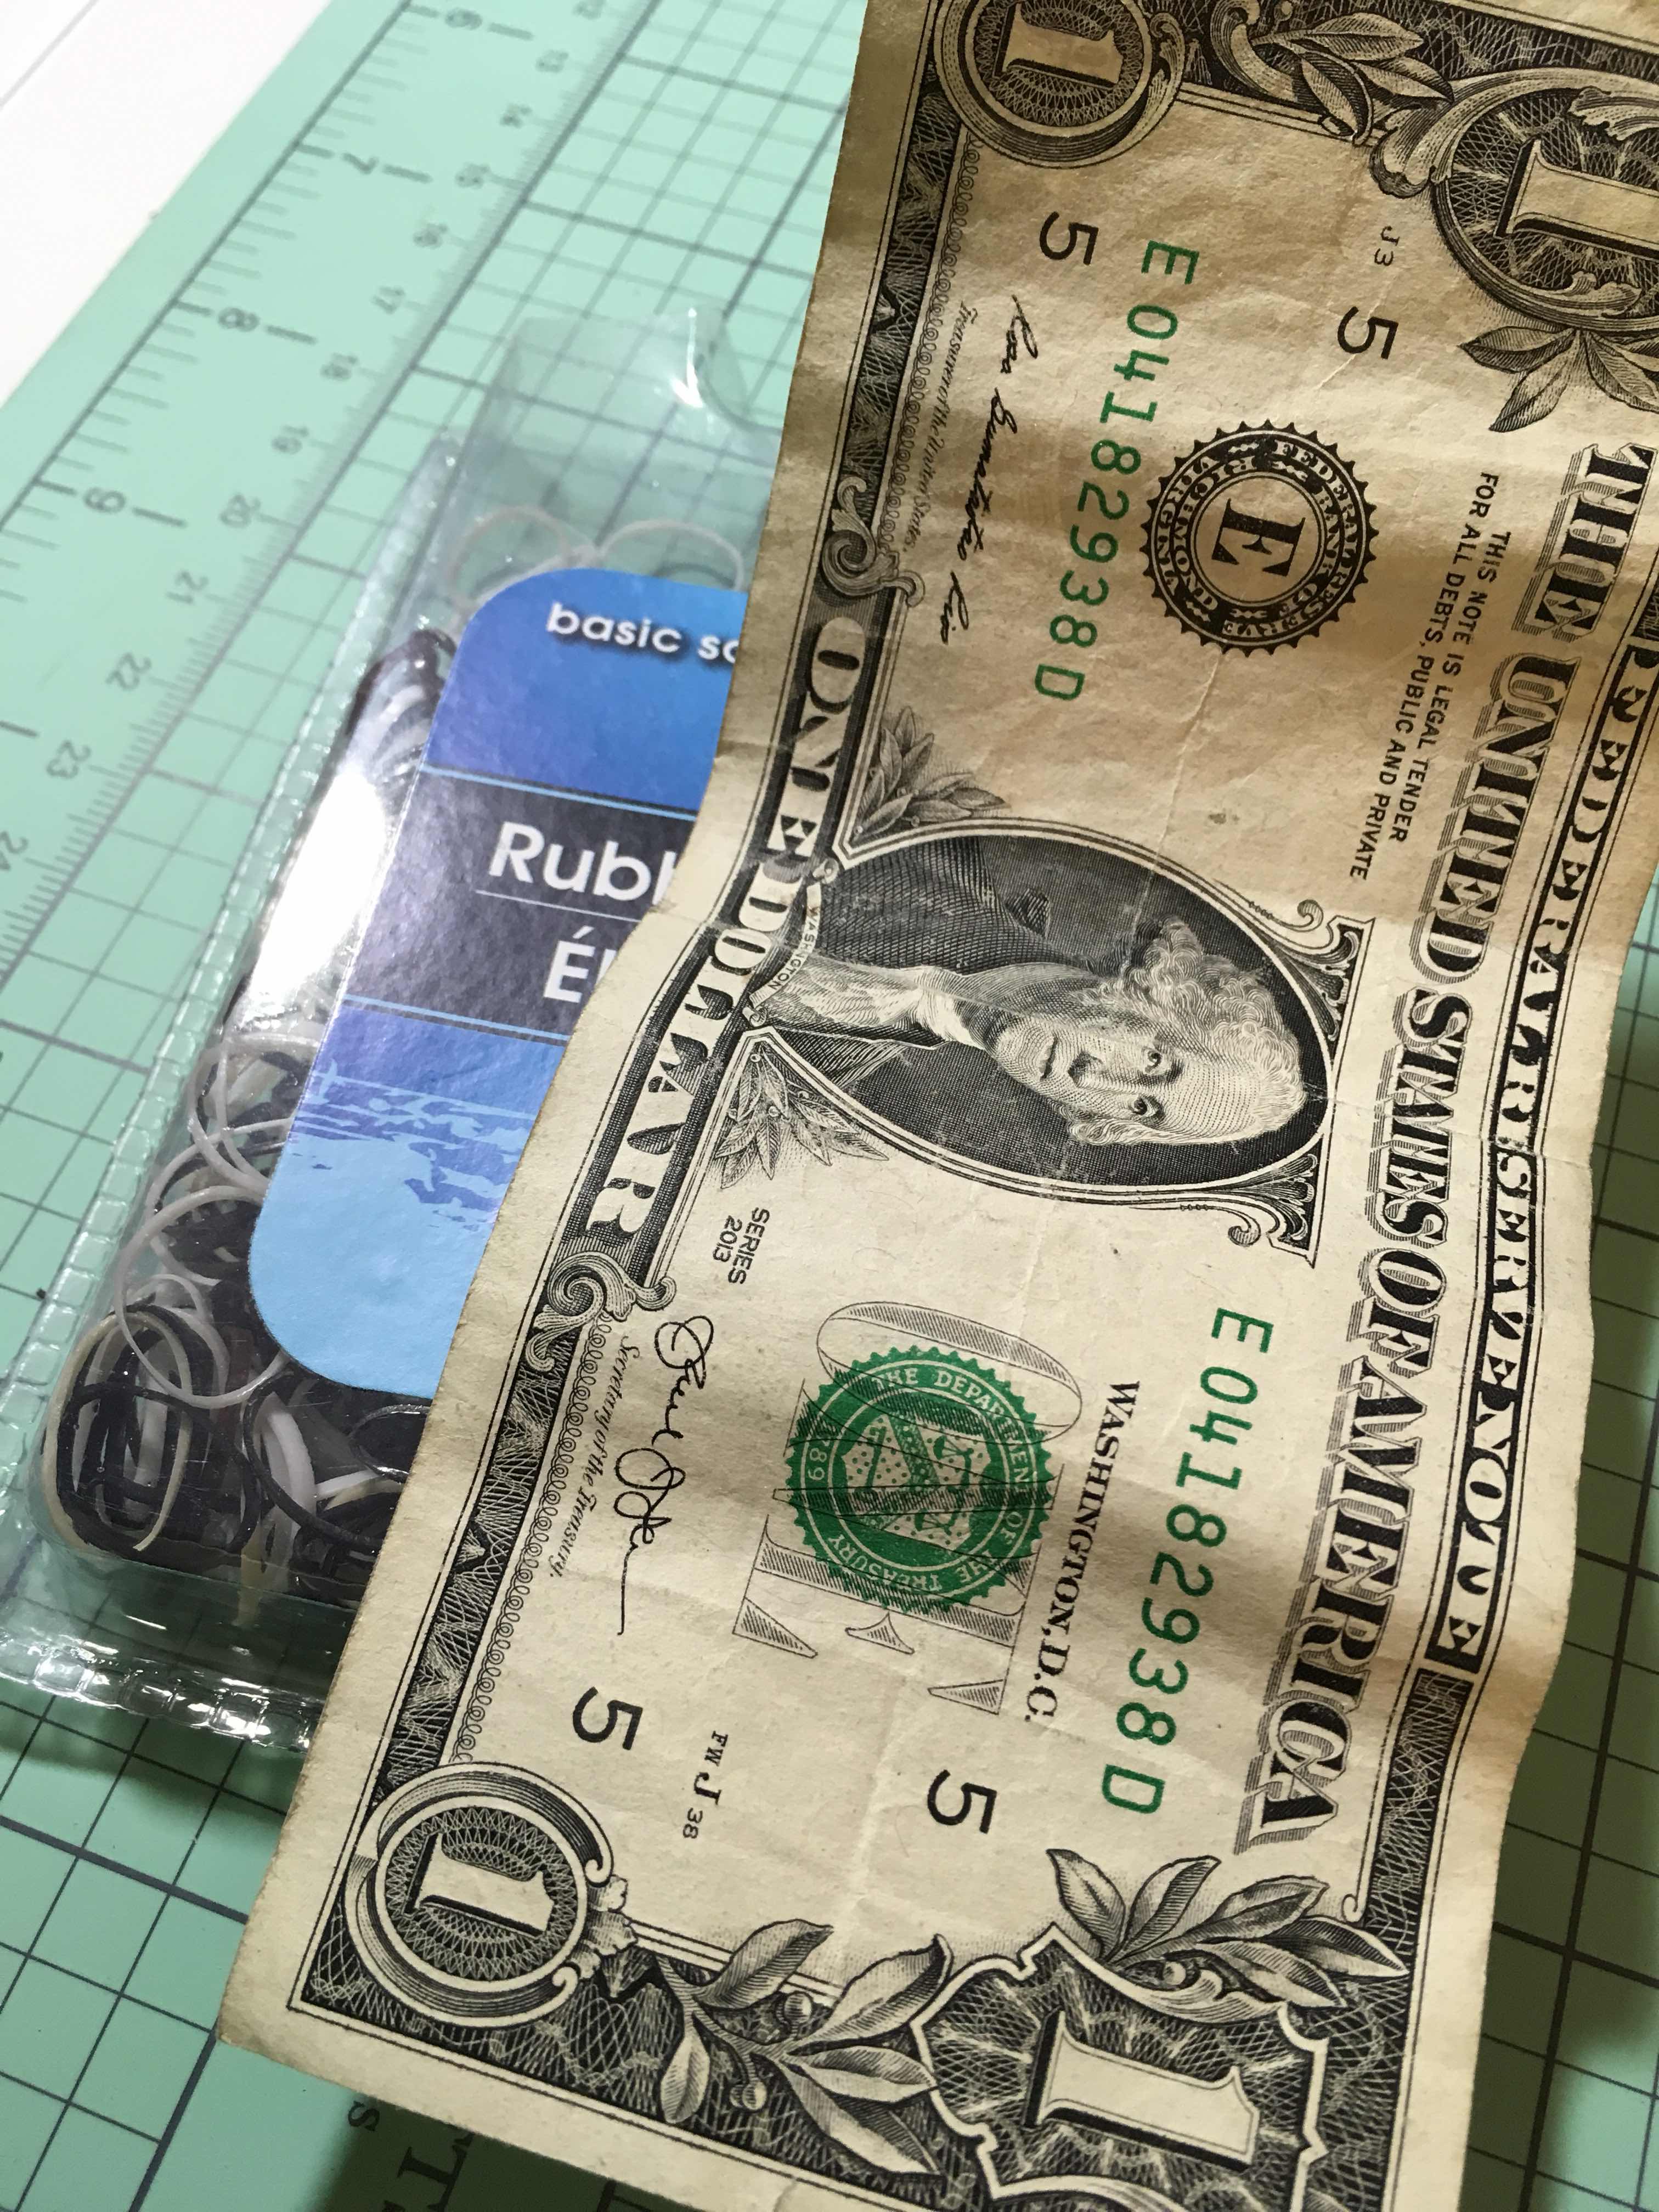
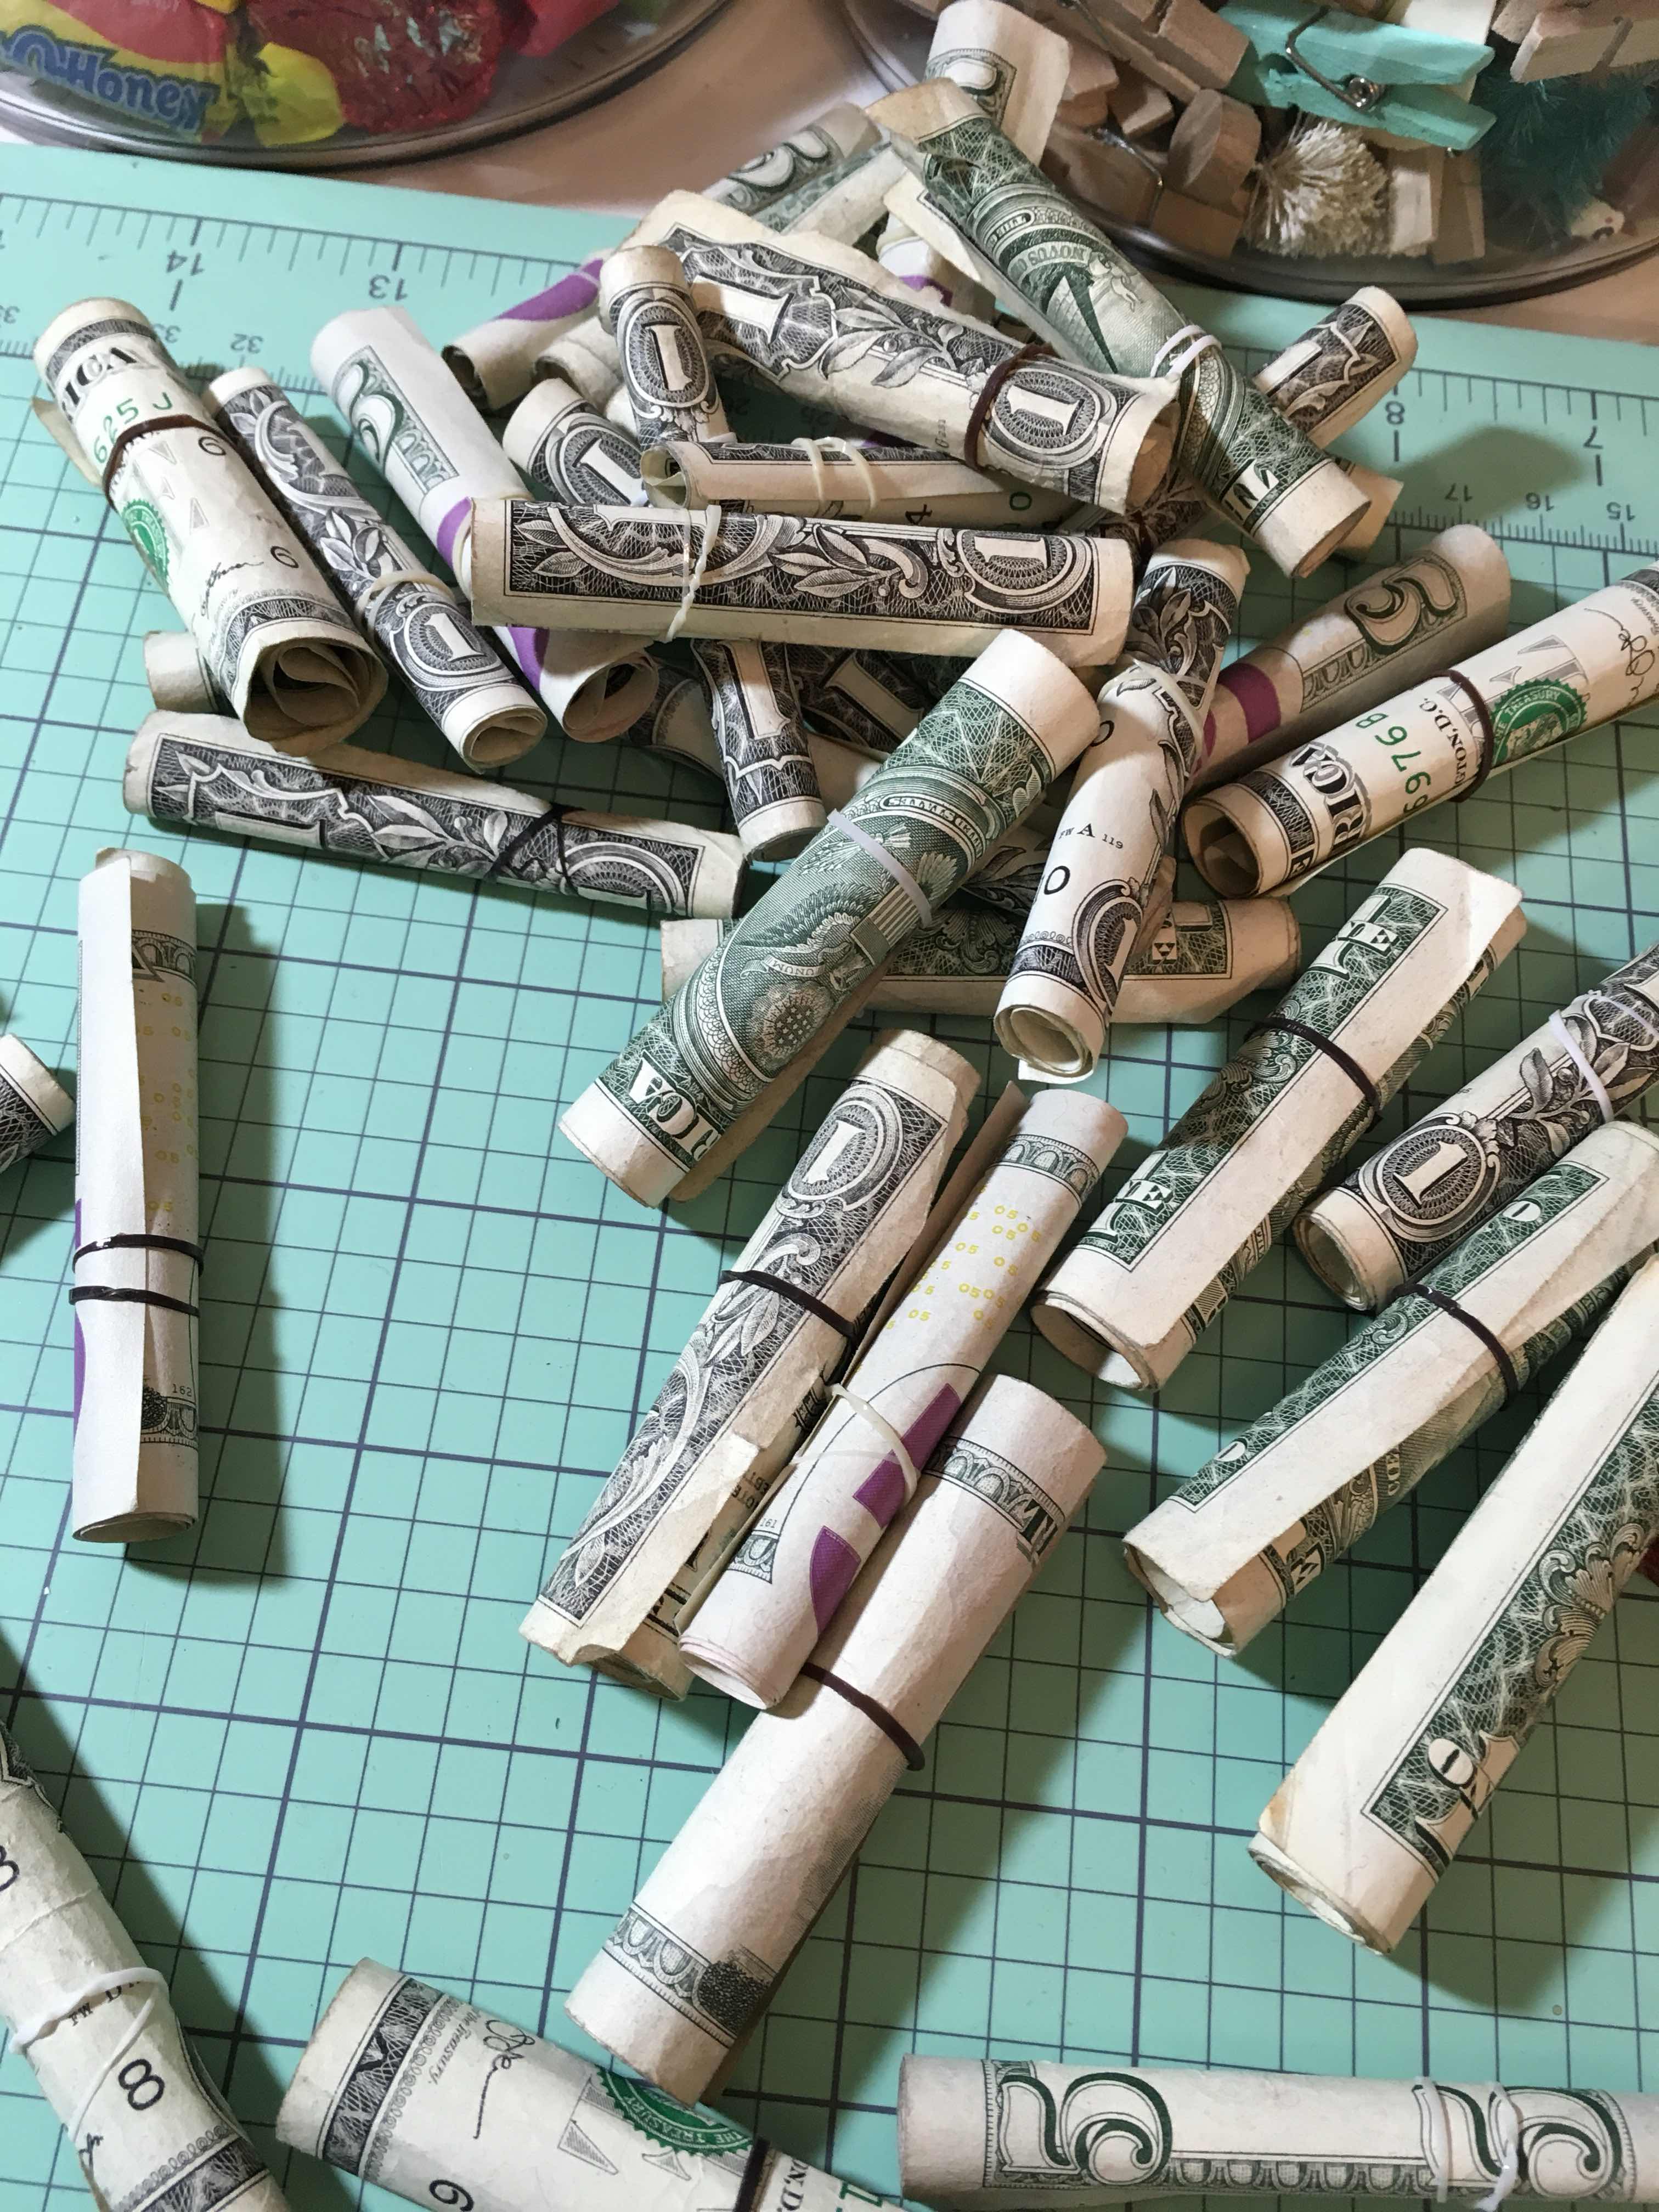
Use those small rubber bands (also purchased at the dollar store) and wrap the dollar bills.


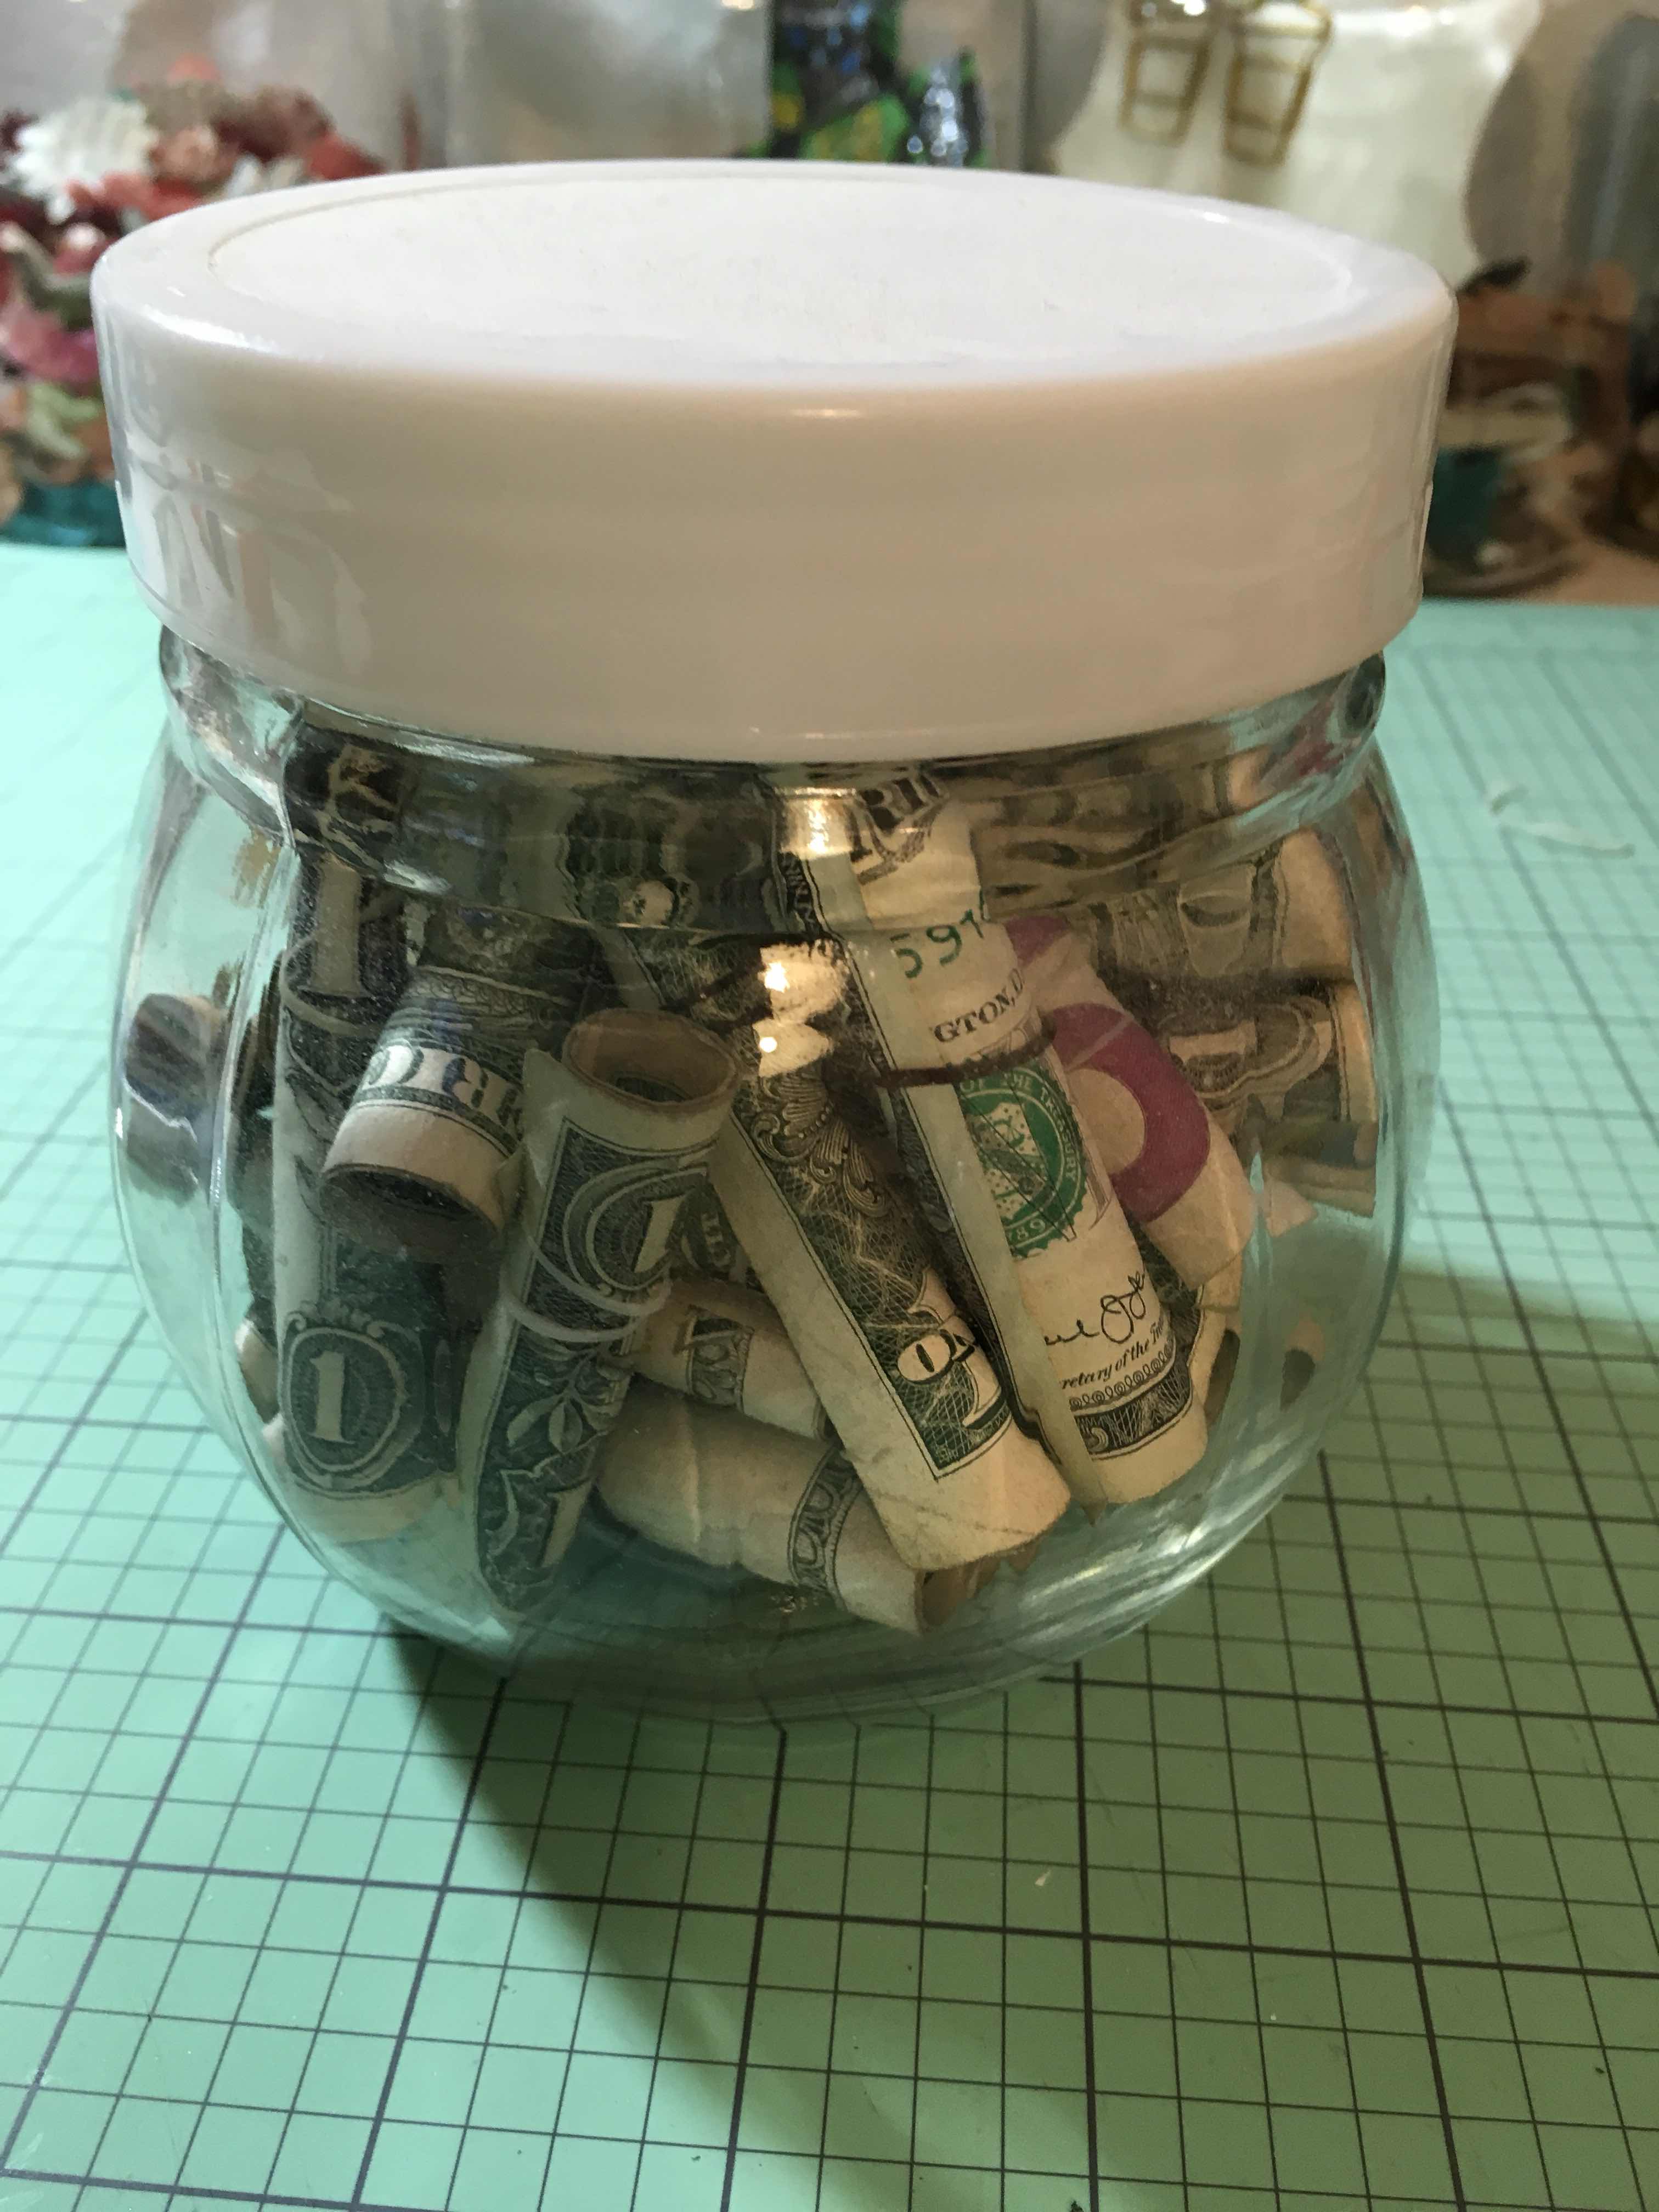
Here is my jar filled up and to be honest I could probably fit in another 20 bucks inside. Shh don't tell her that.


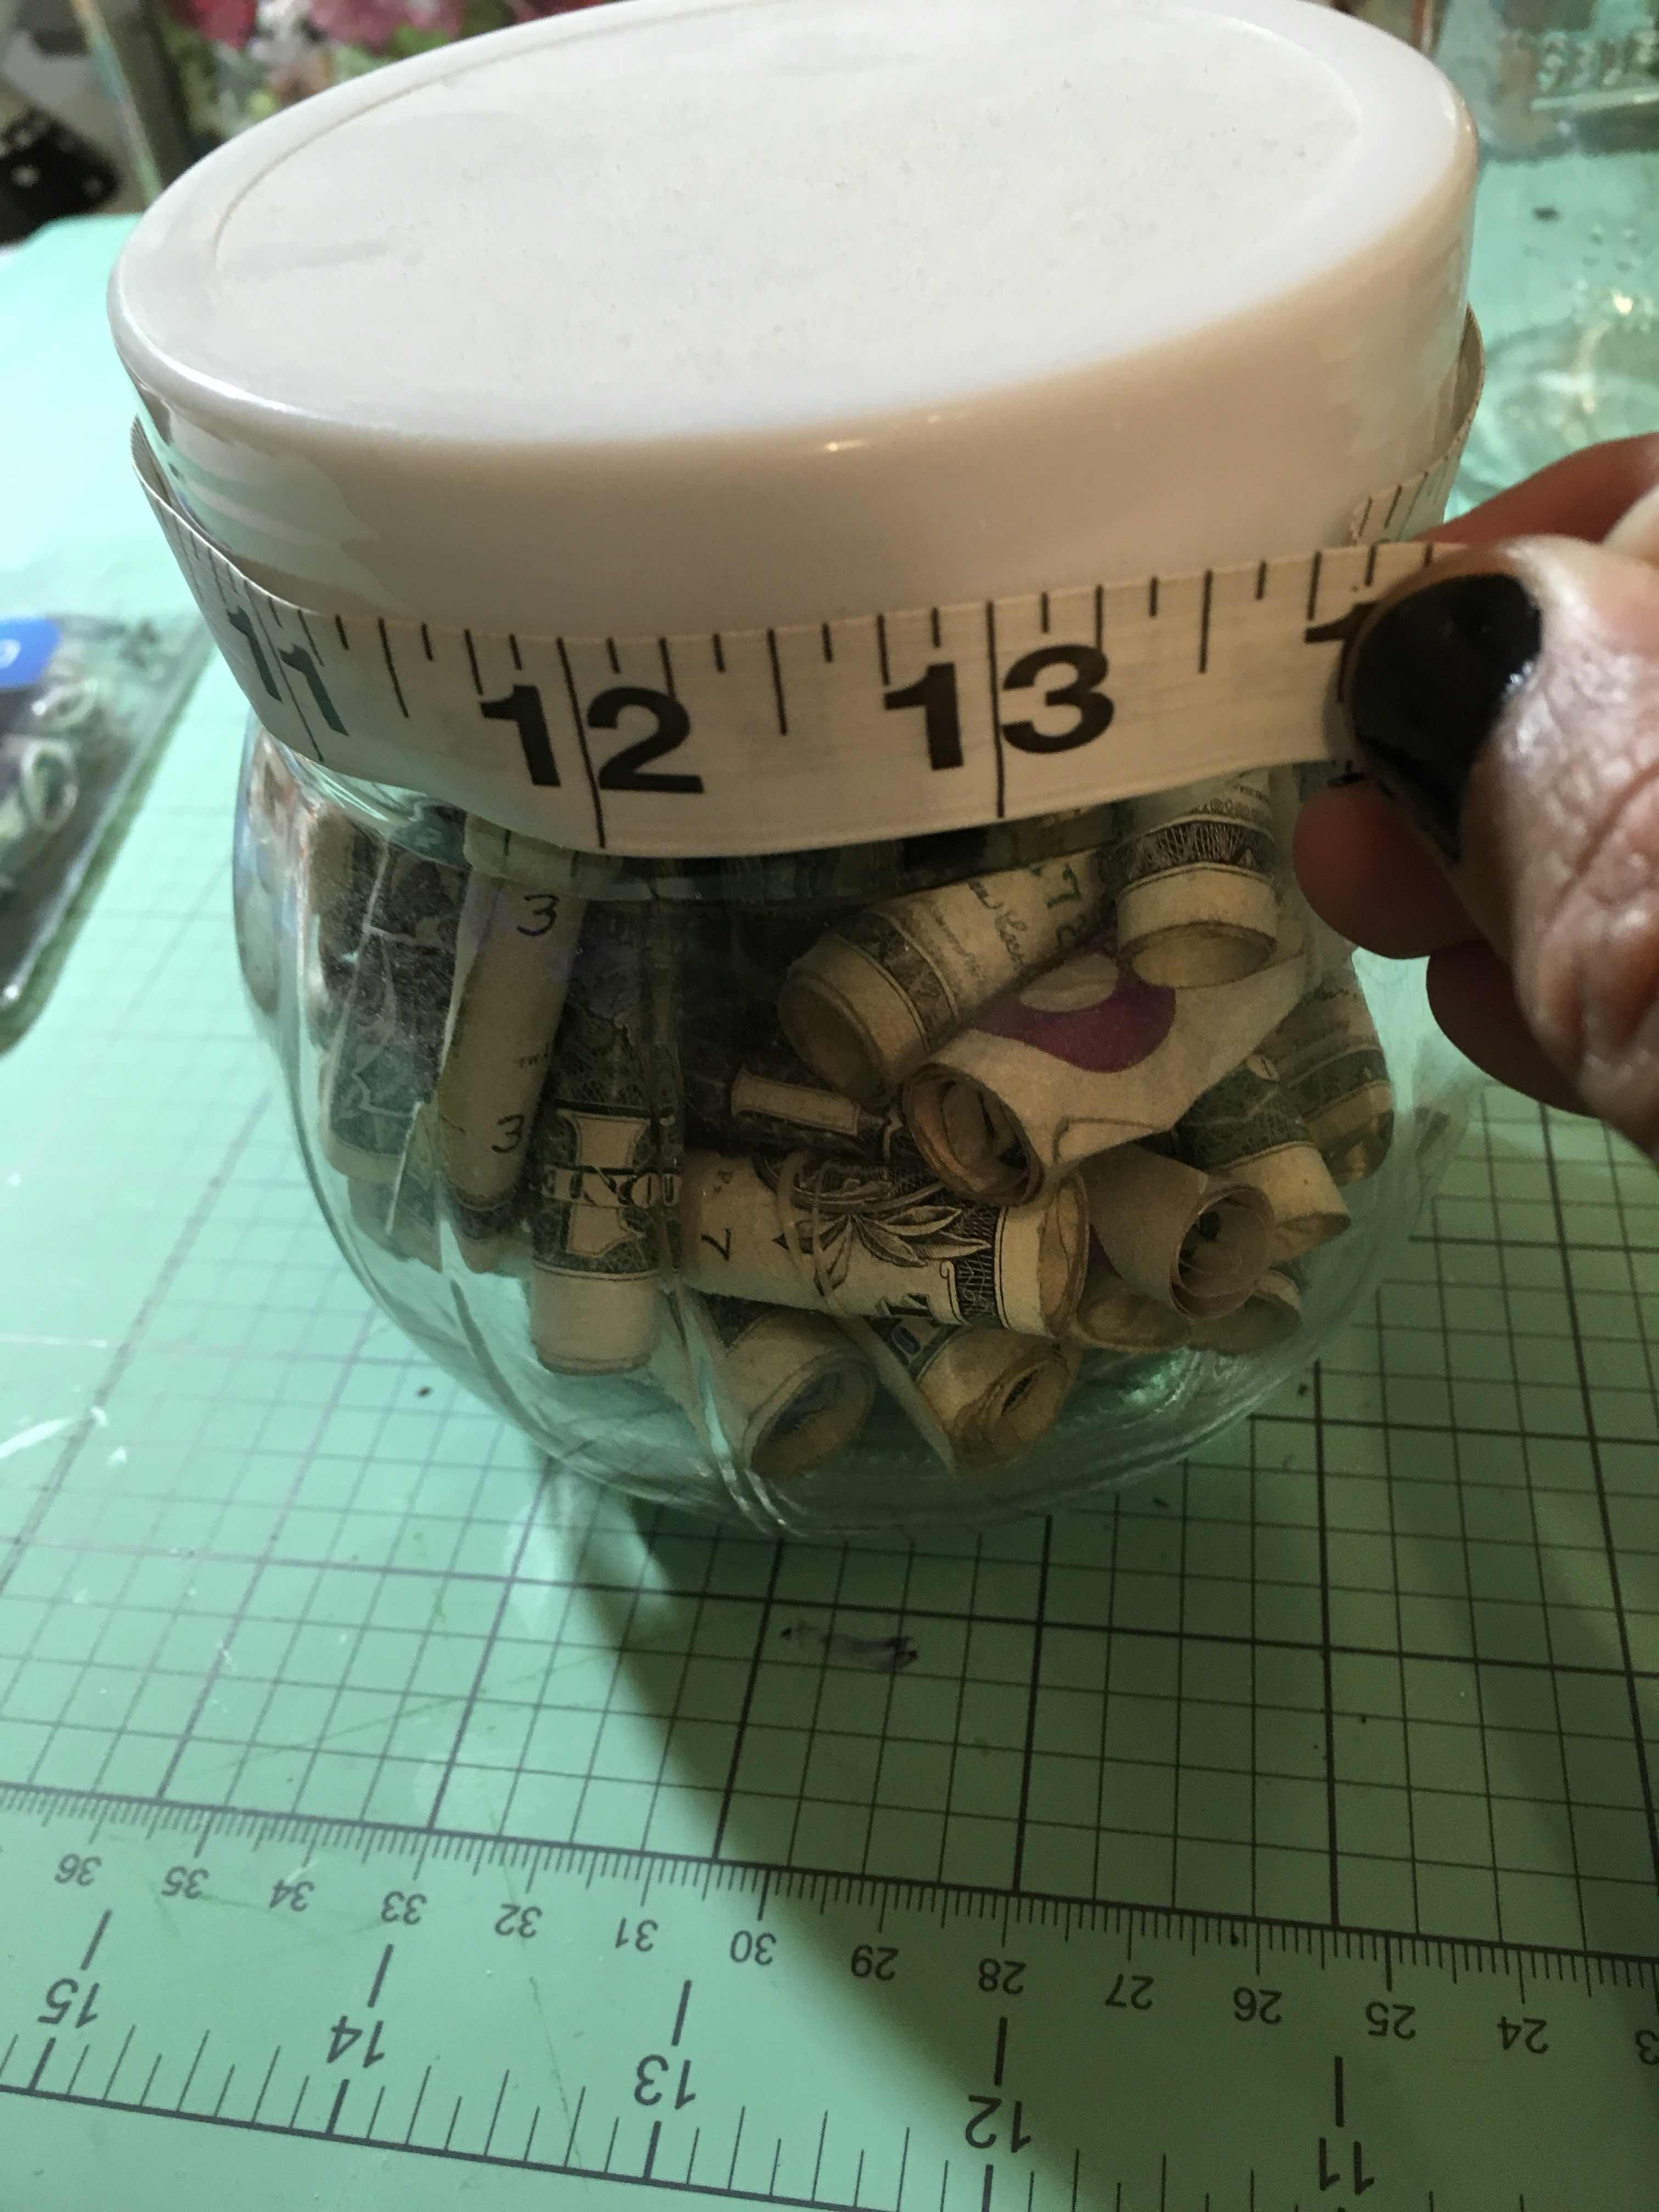
Now you’ll need to measure the circumference of the lid 


Cut a piece of black card stock and wrap it around the lid...


The circumference of my lid is 12 1/2 inches around my CS is only 12 inches - but it’s no big deal - remember the kid will probably rip this apart to get to the money so that small detail won’t even be seen.


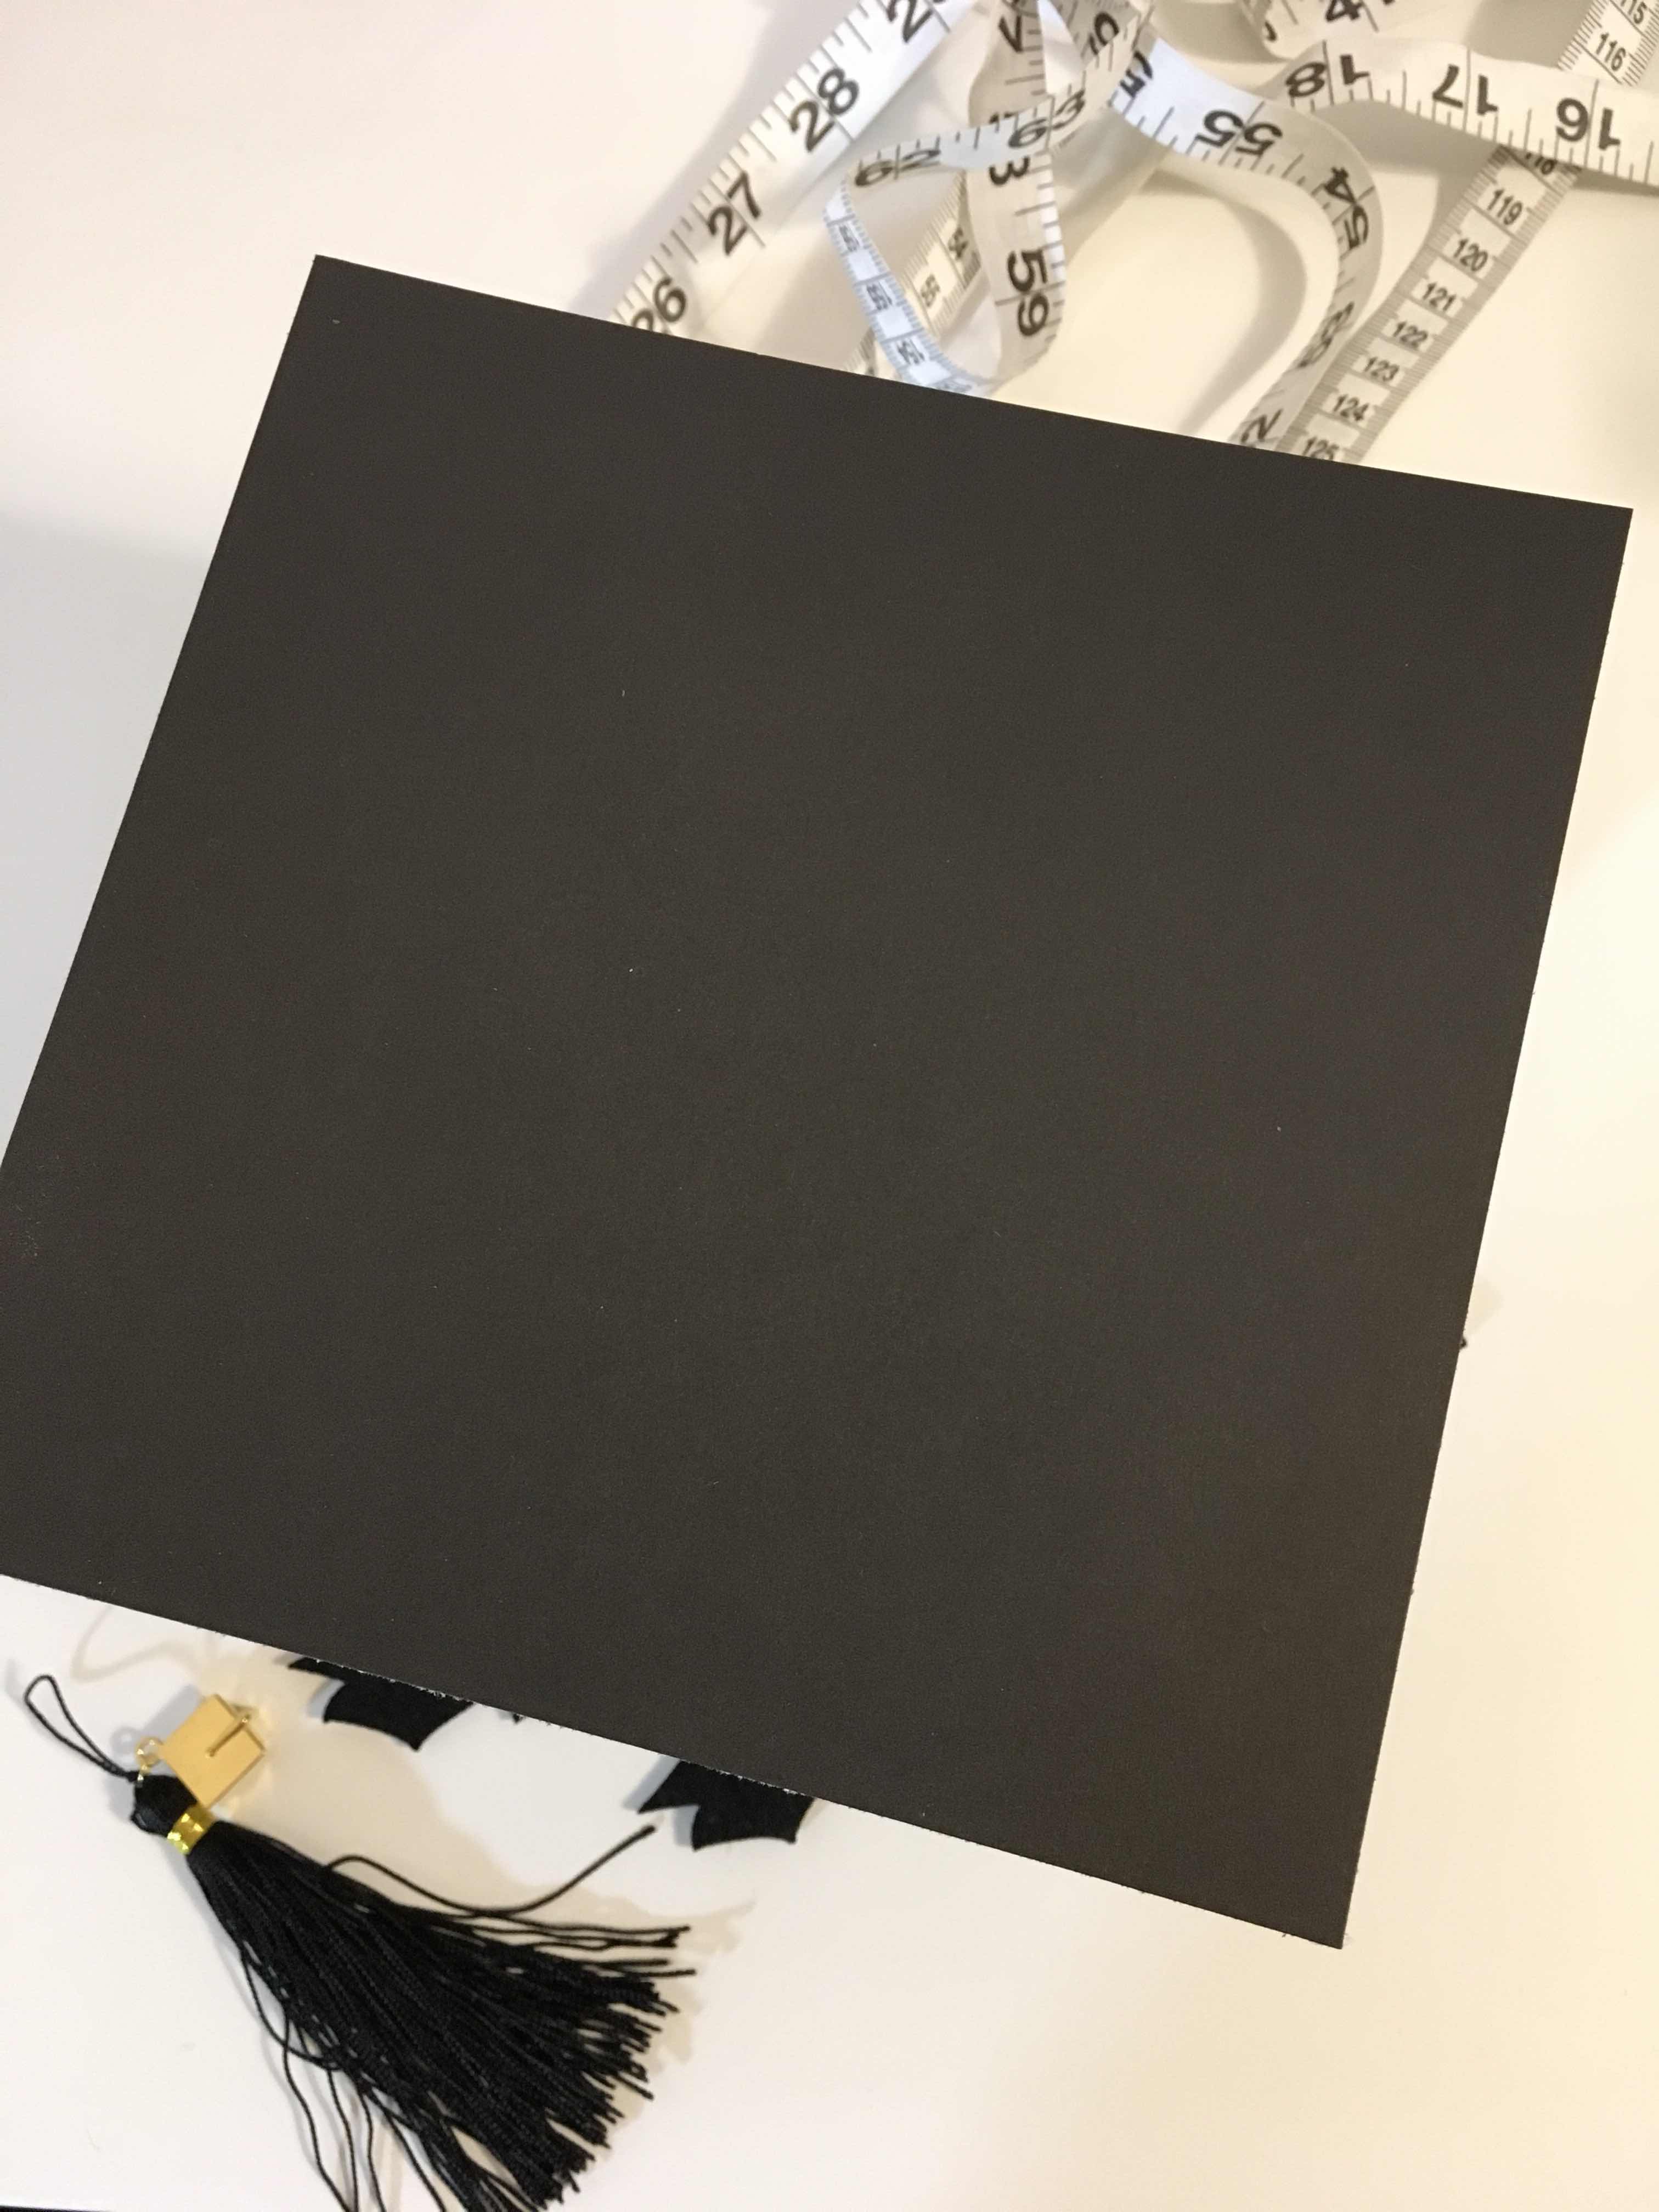
I cut a 6 inch square for the top of my jar - (1/2 the circumference I measured)


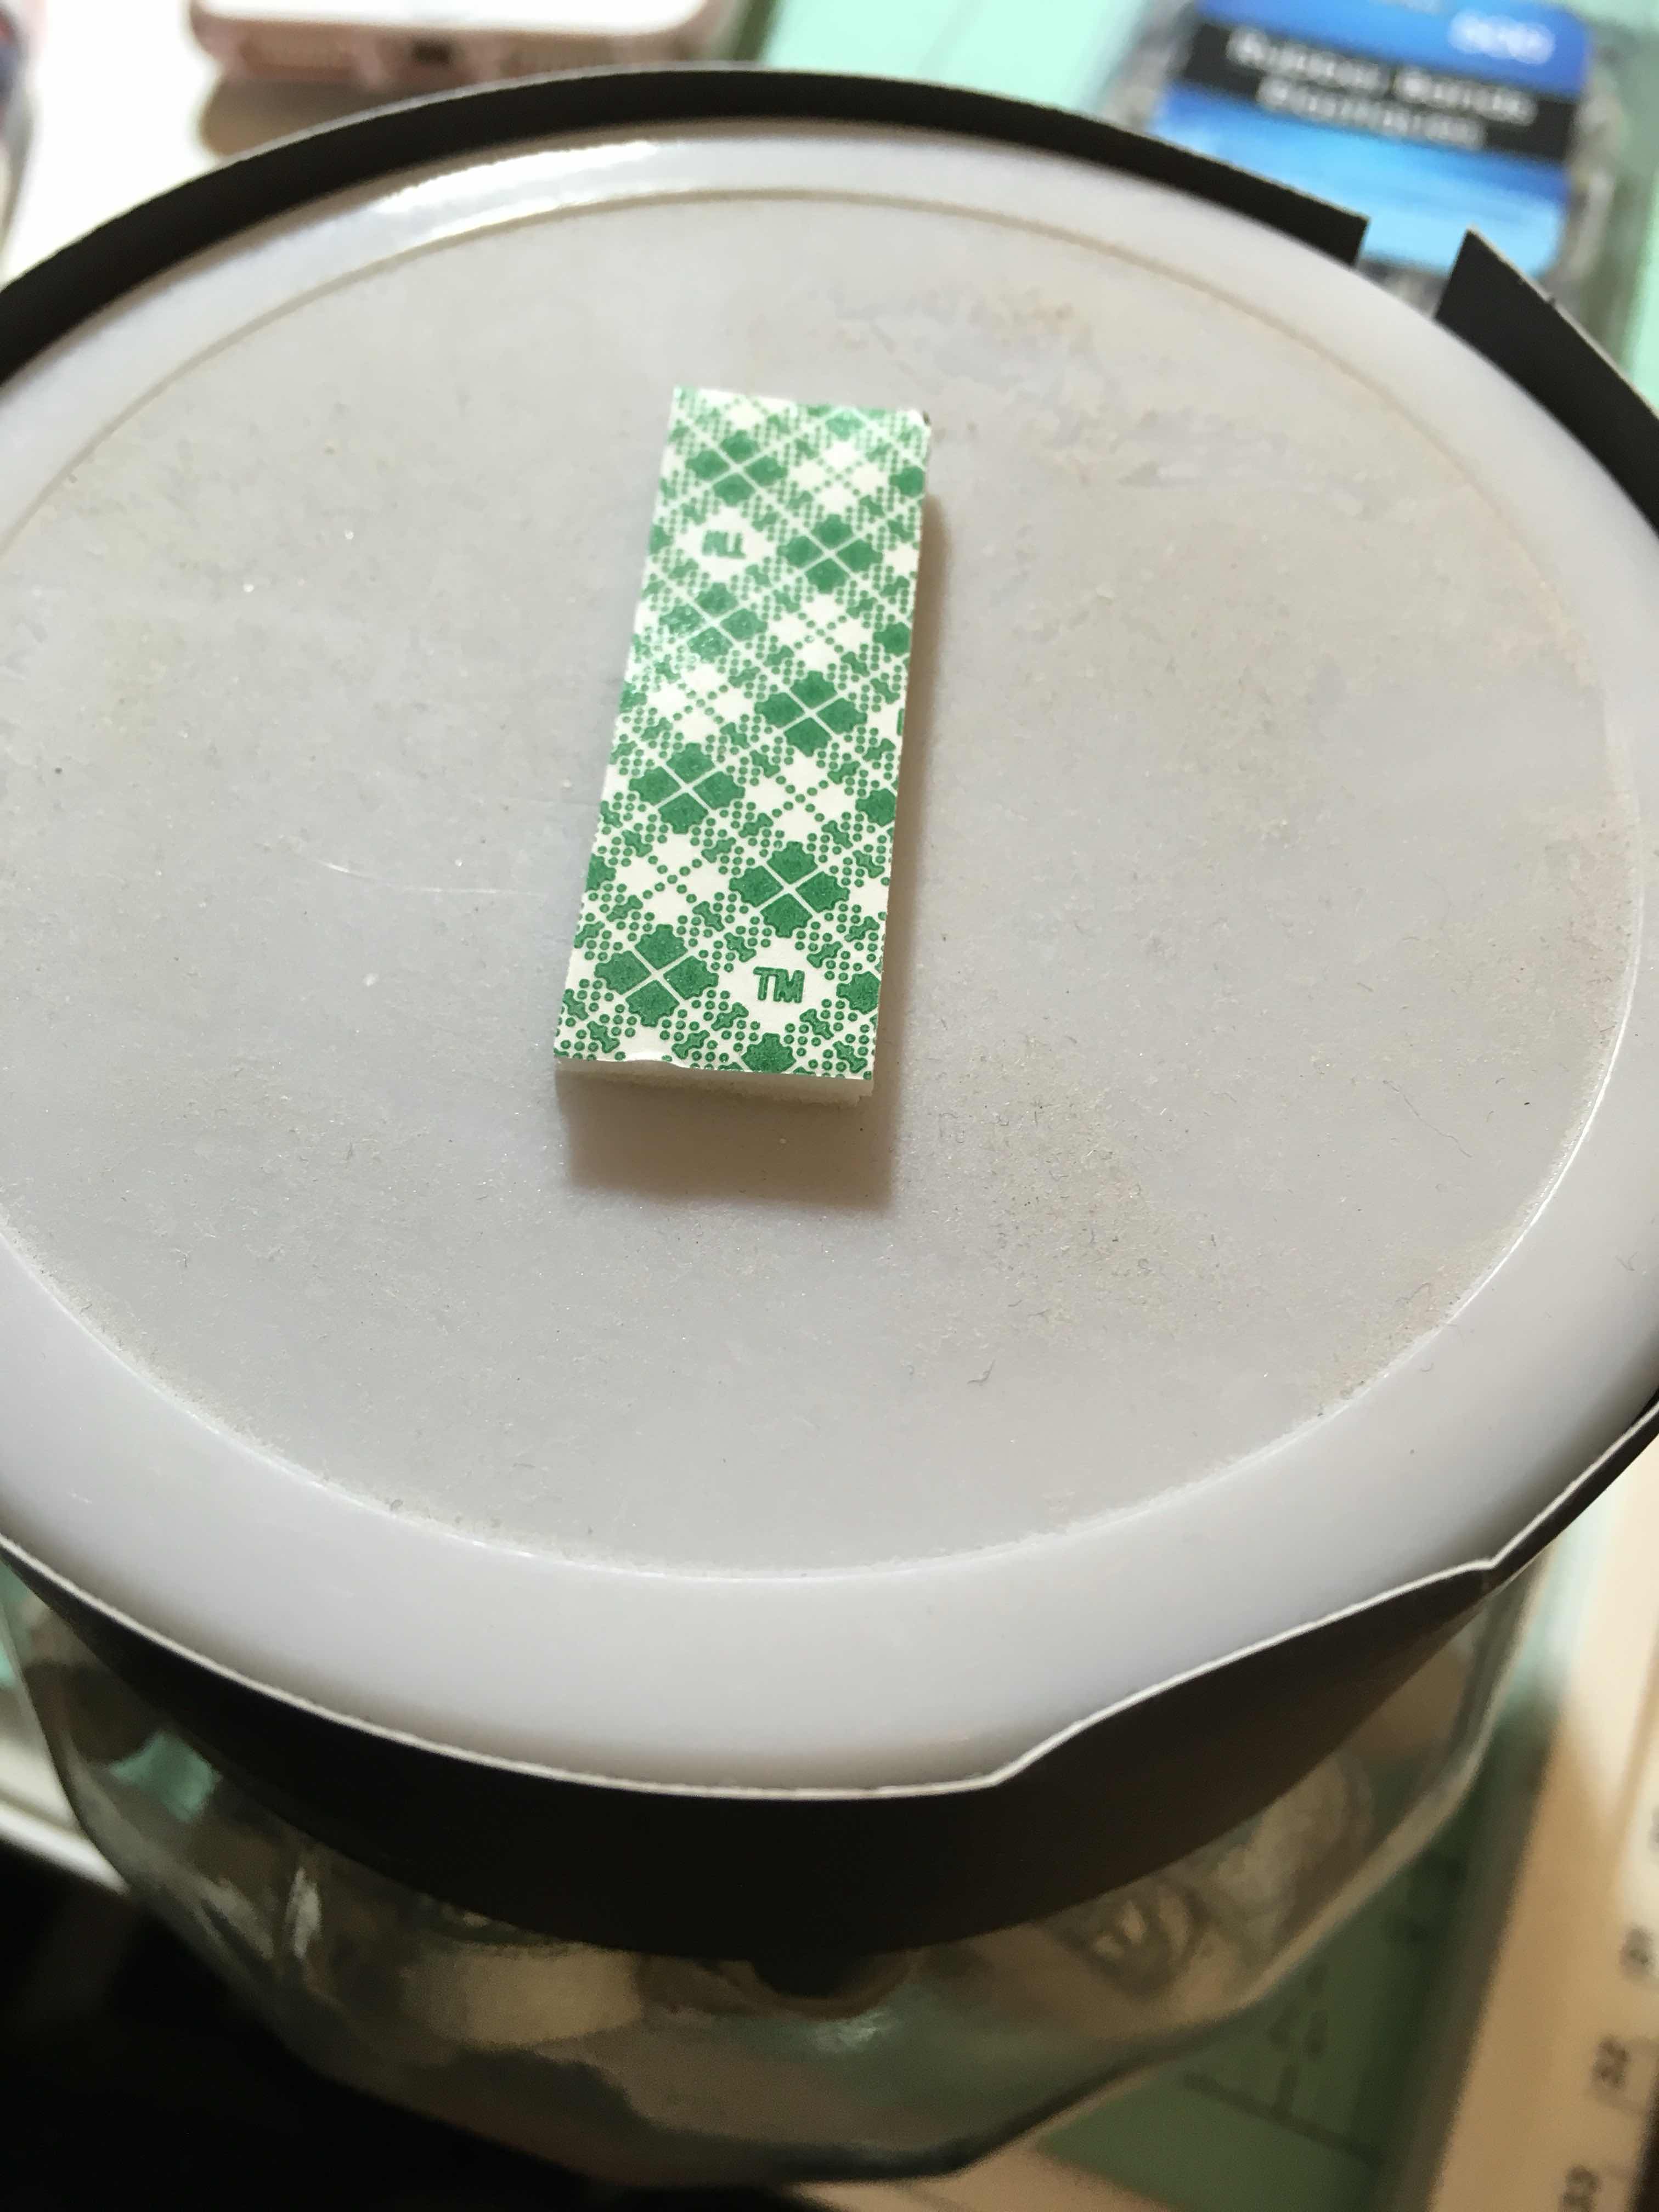
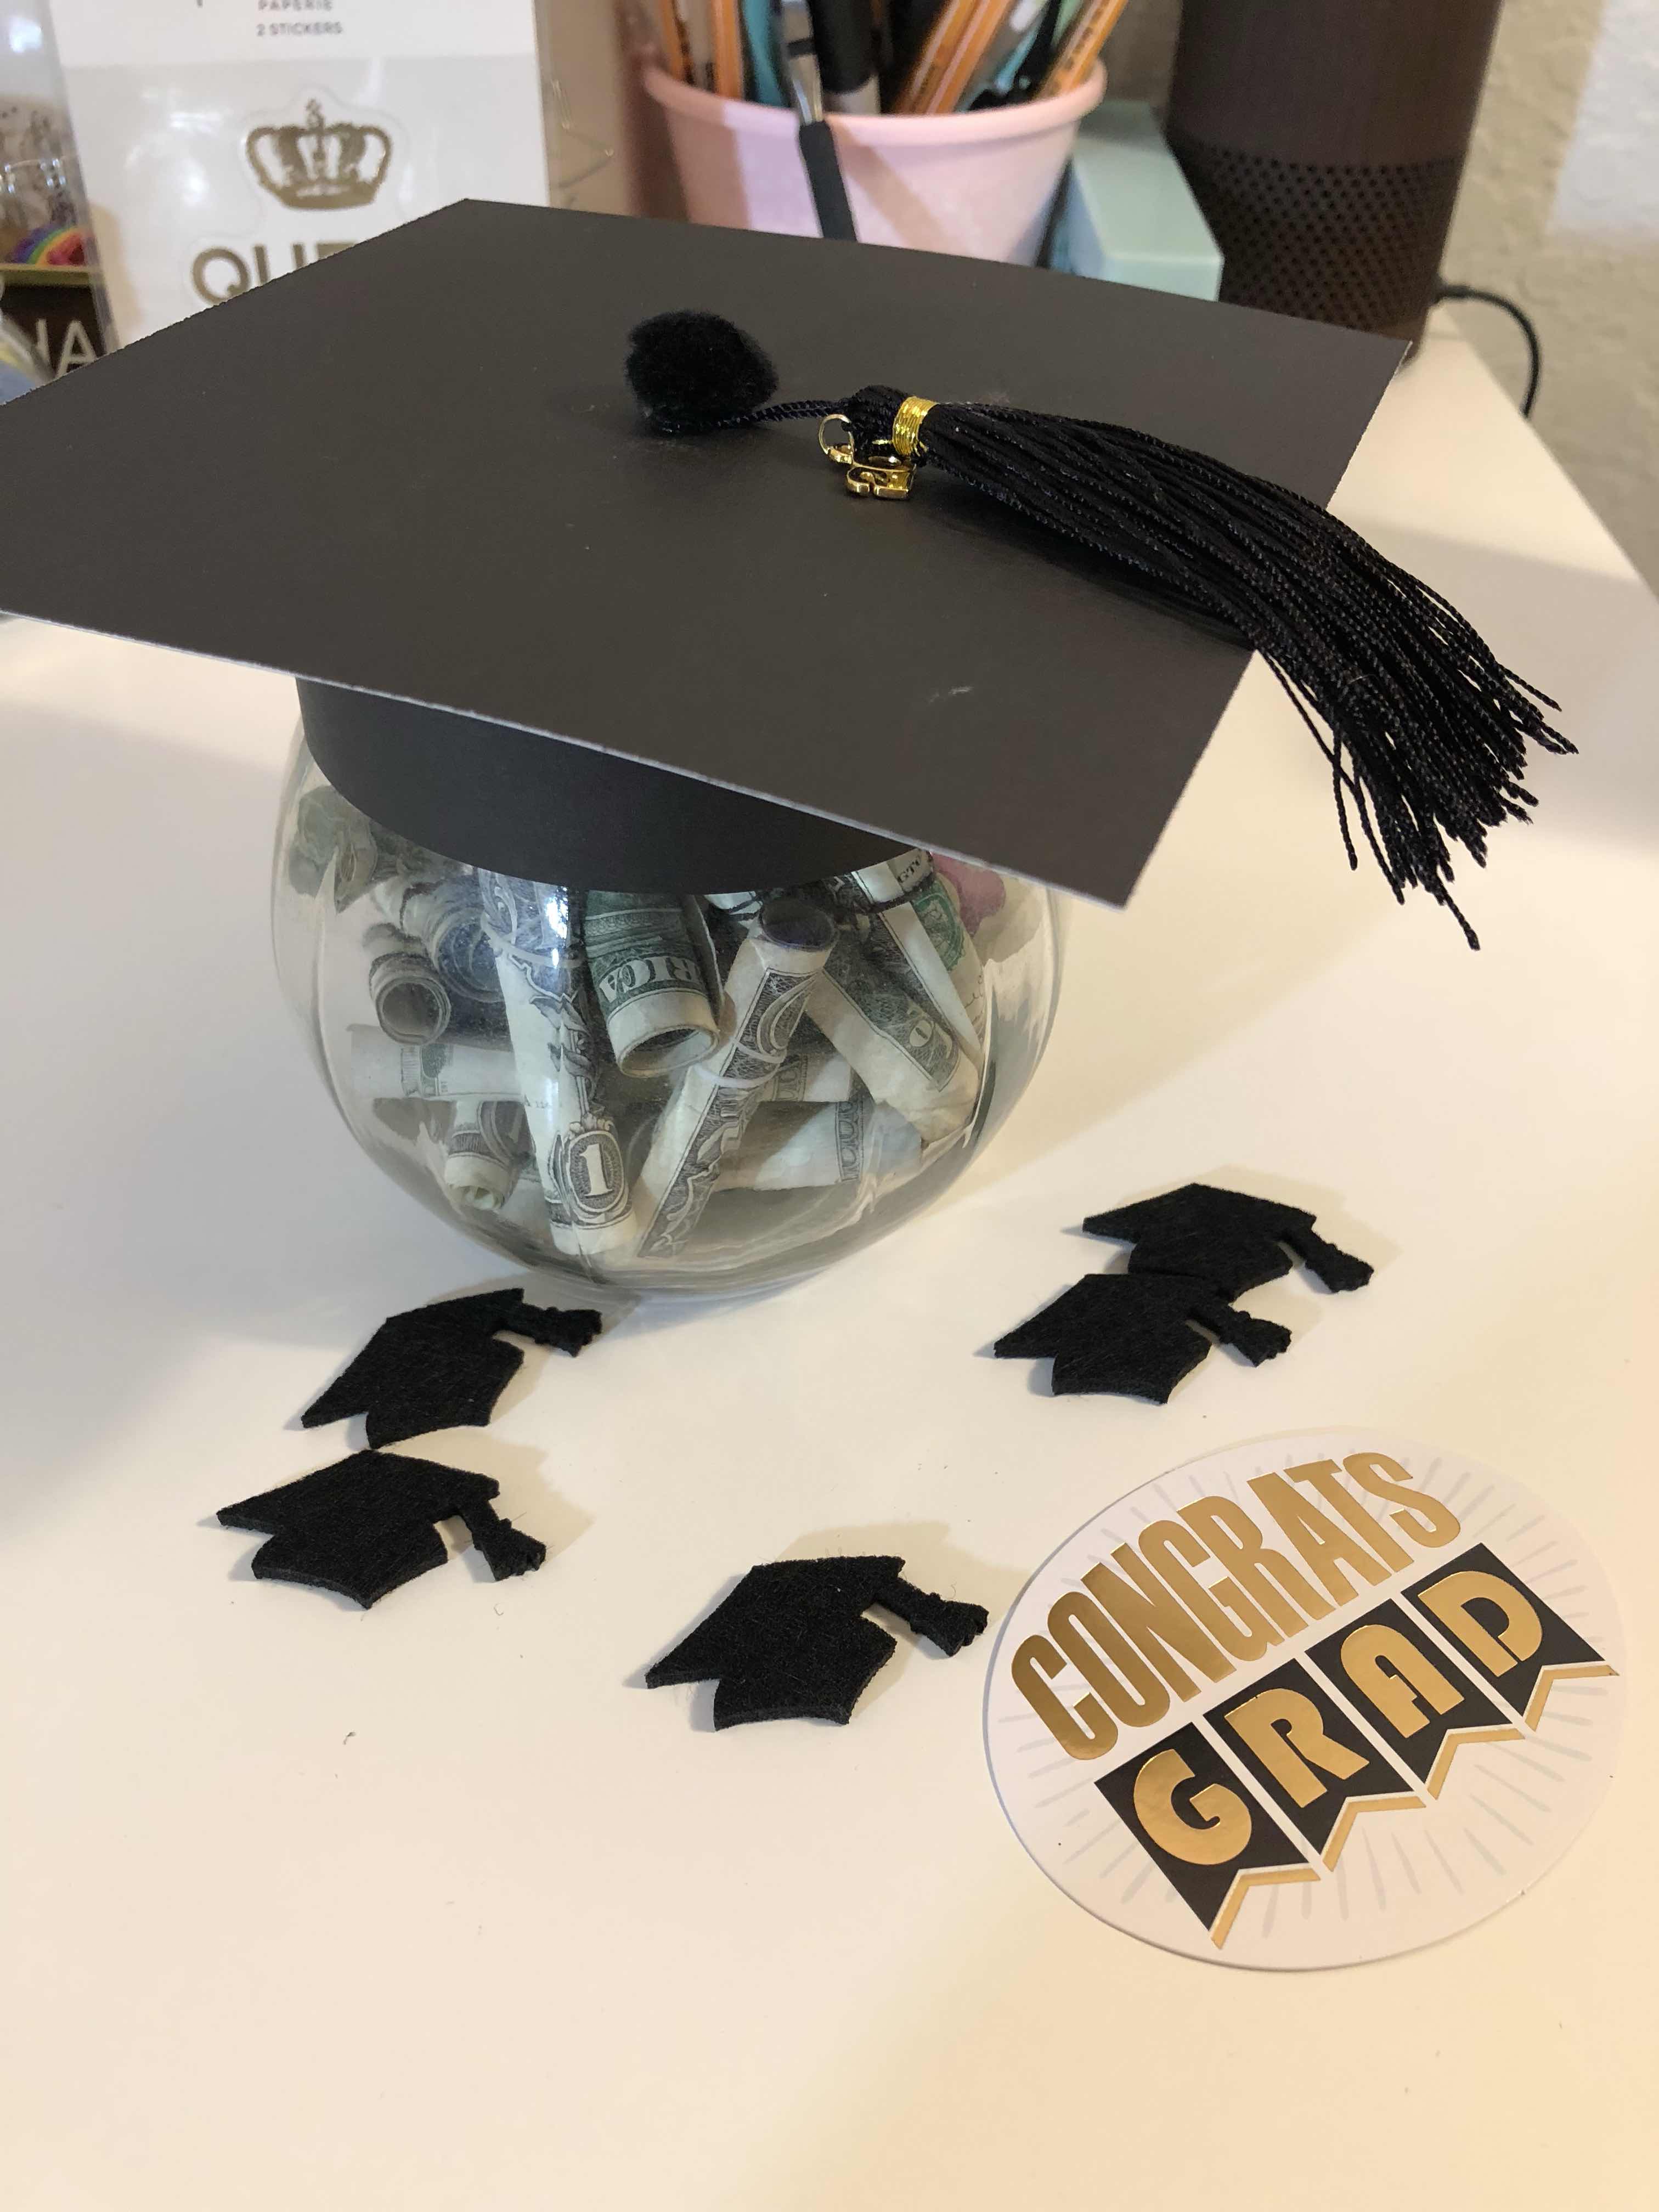
I used 3 pieces of double sided foam tape to raise the height then stuck my square on top. I bought the small tassels at Michaels for some scrapbooking projects so I used it but you could make your own instead with the school colors if you wanted to be really crafty...and attached it to the top with a sticky dot and a black Pom Pom! 


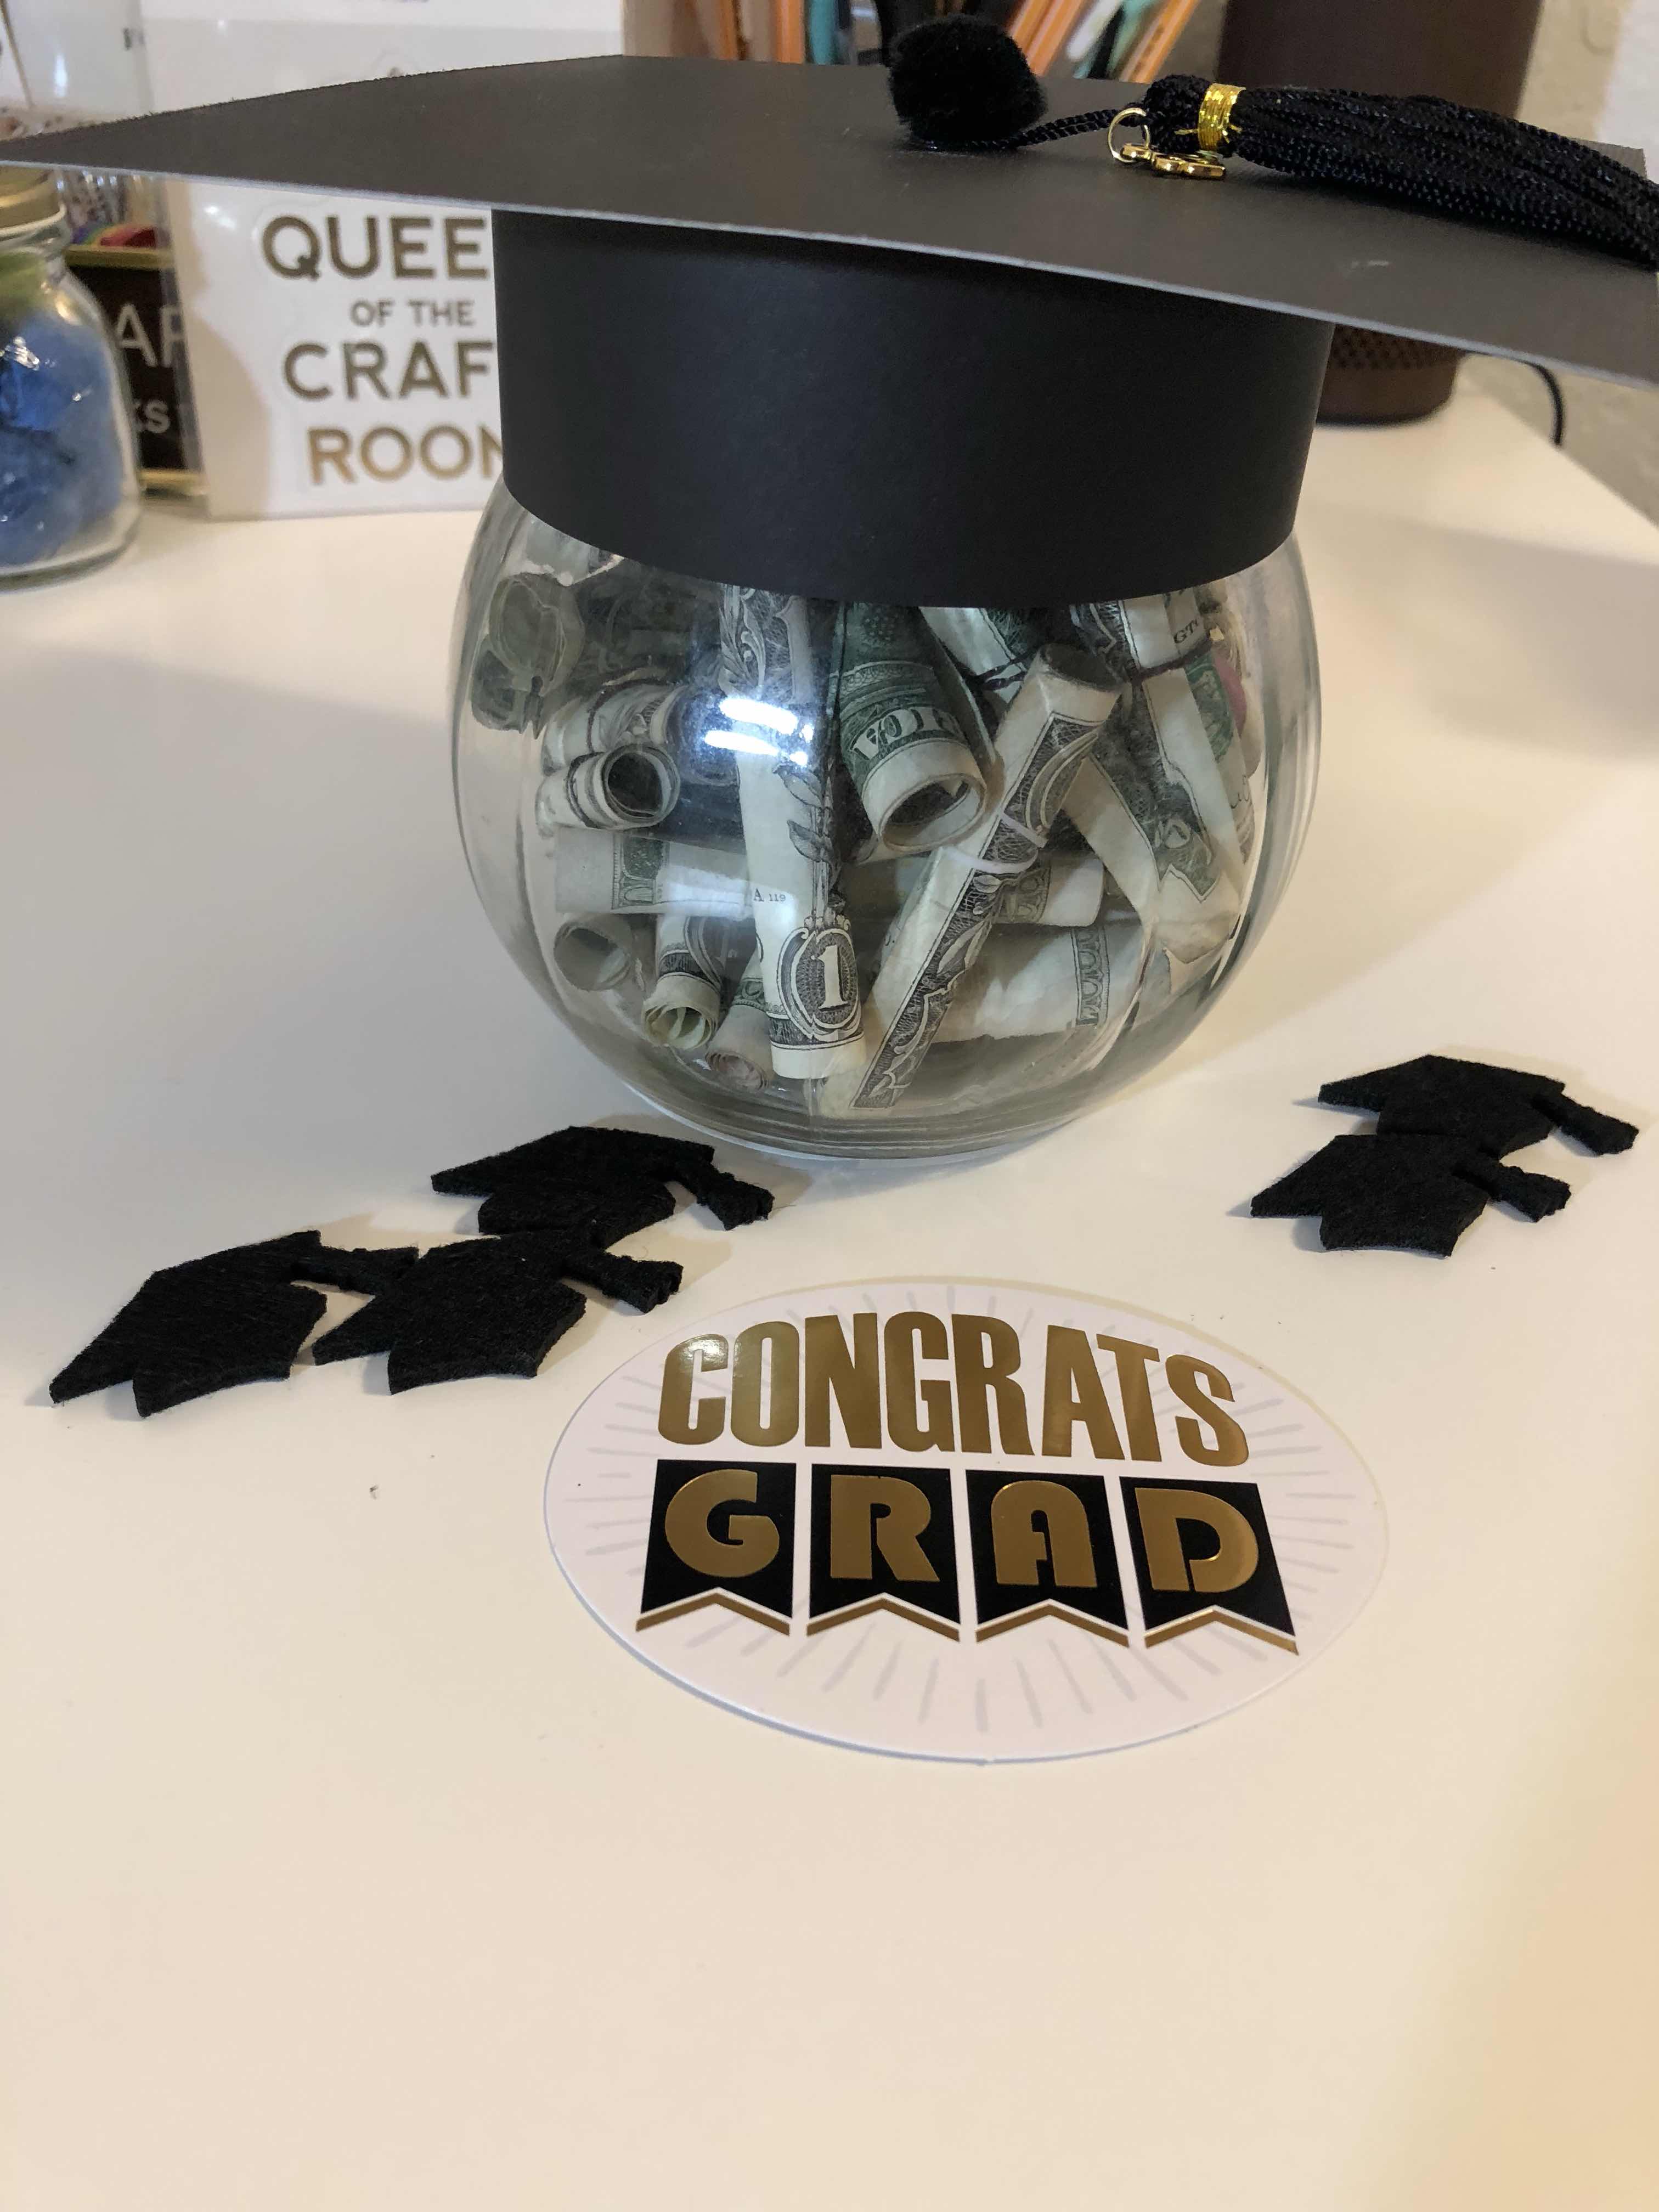
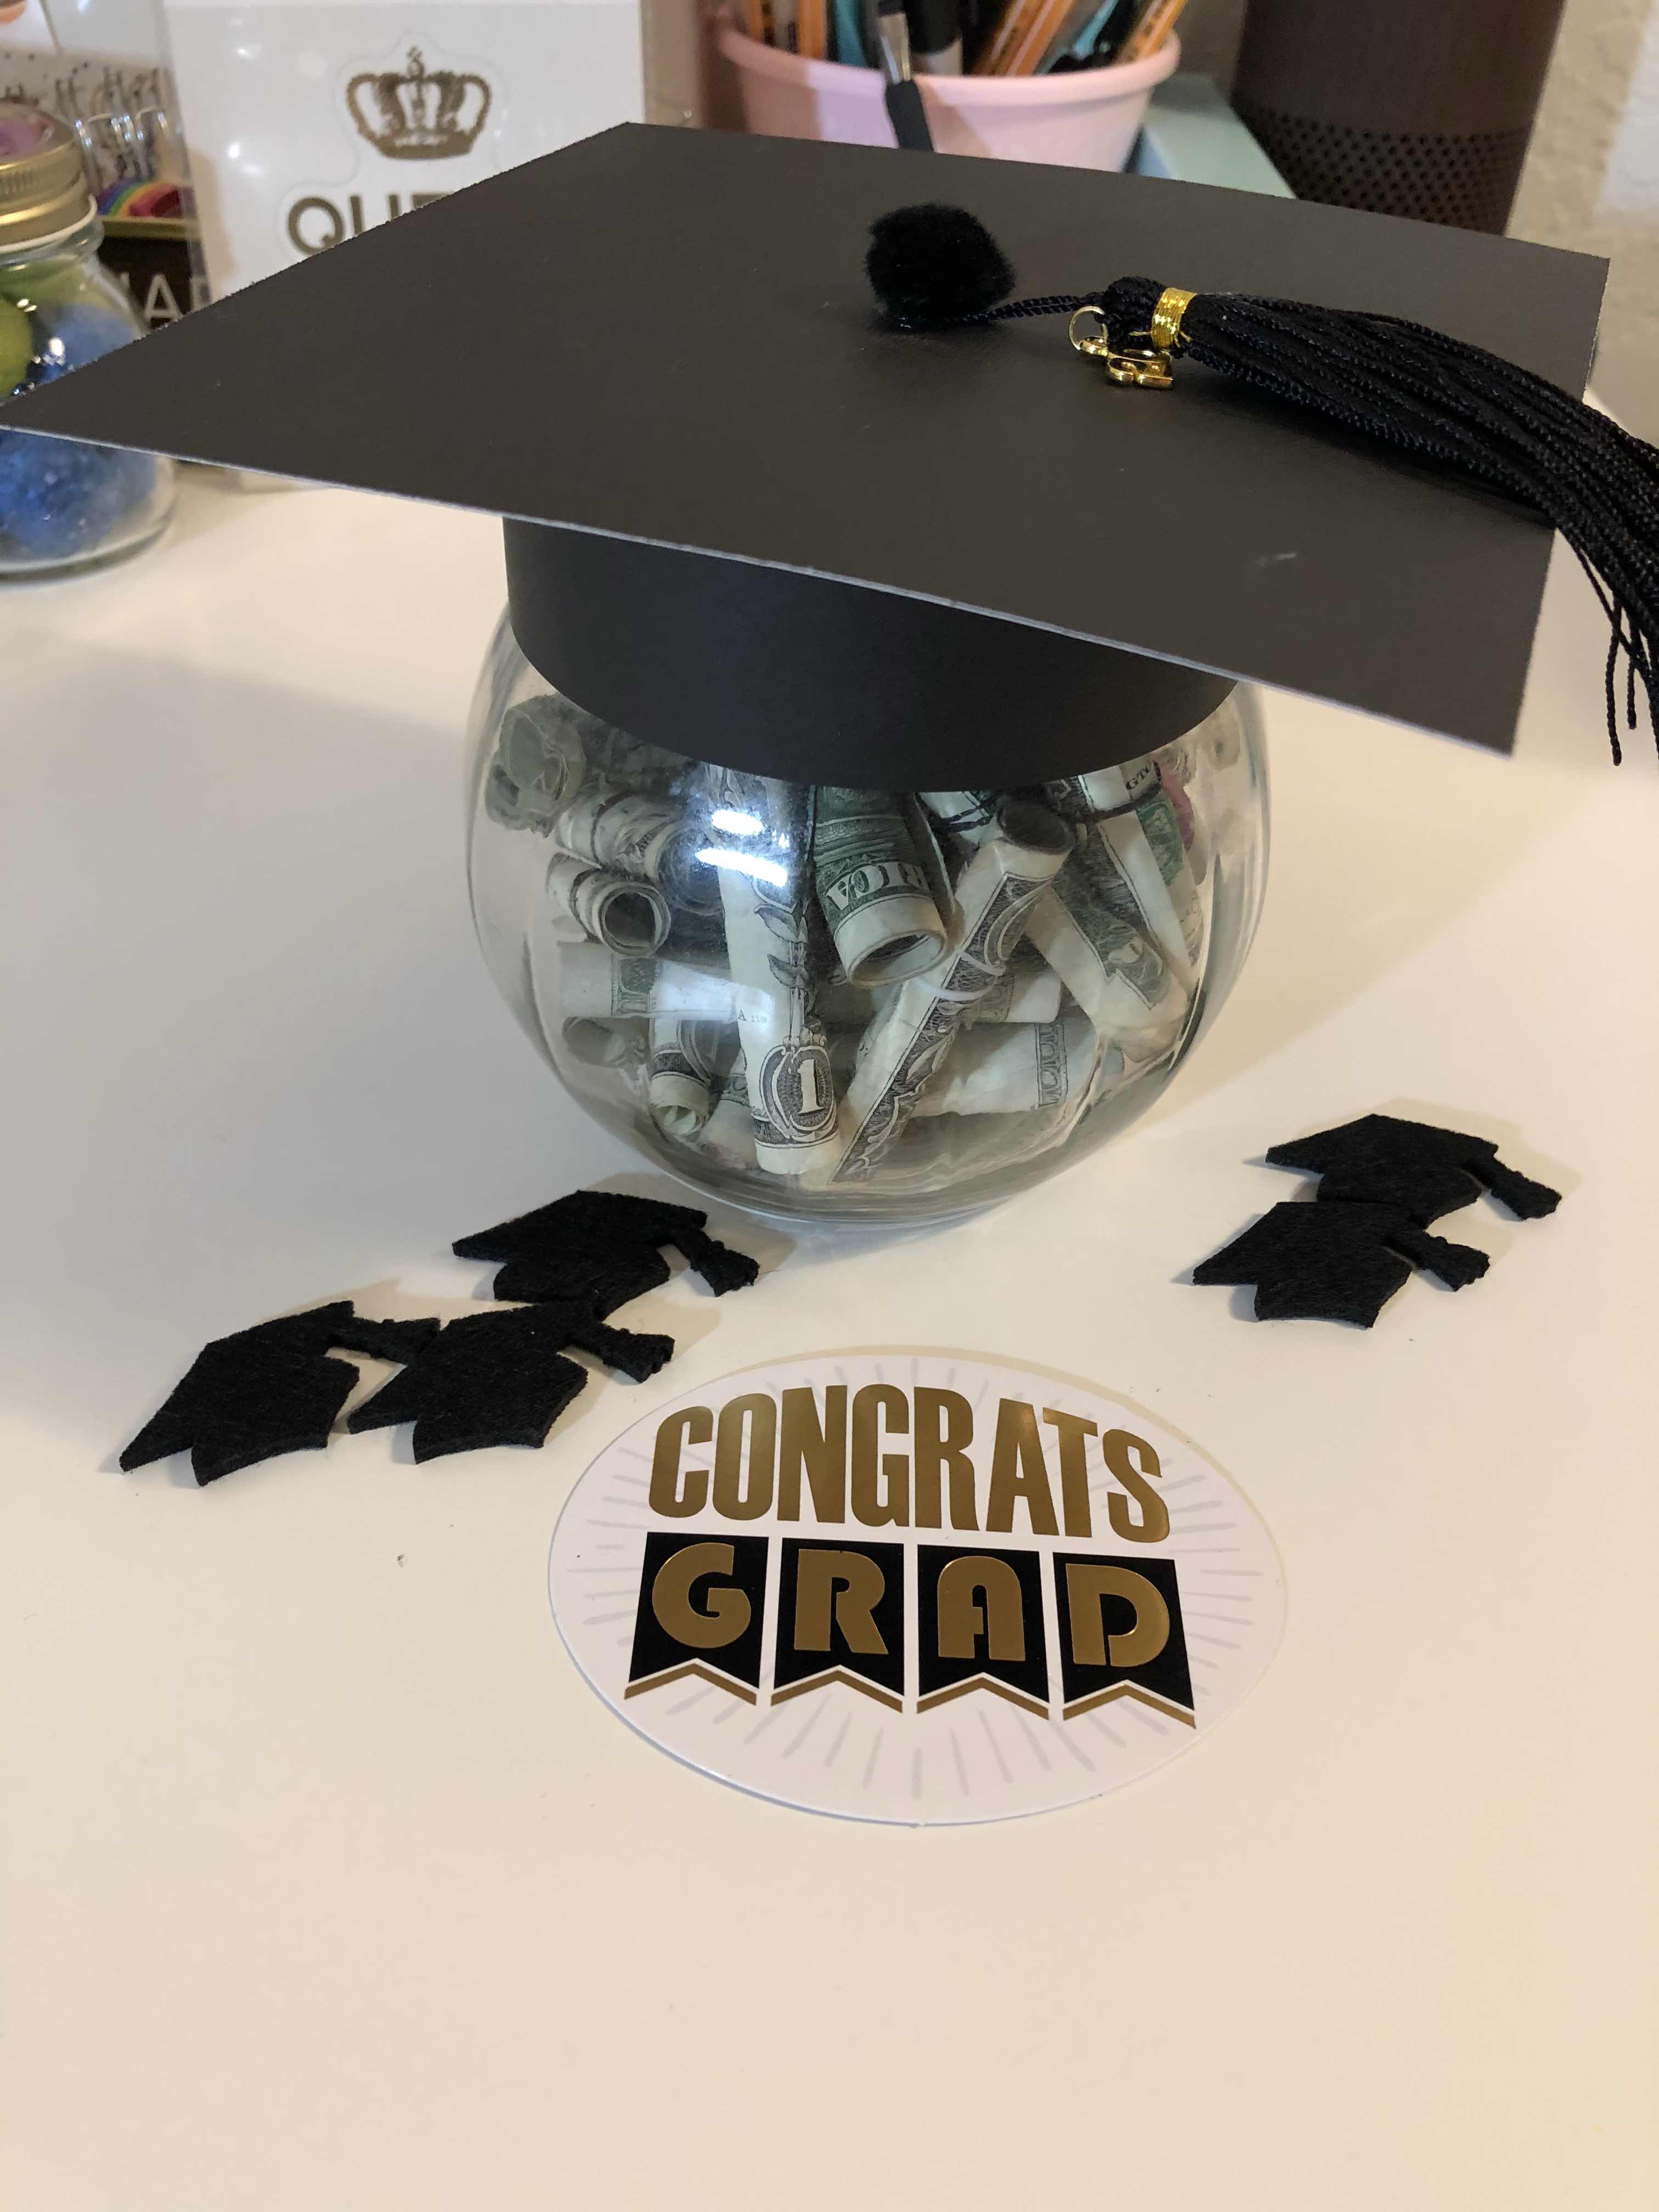
And ta-da MAGIC and an amazing treat to give your kid! 

Happy Graduation to all those kids out there and the parents who survived the journey (wink wink) 

xo 

Tuesday, May 15, 2018

Mother’s Day Layout

I’m trying to be more present in life these days so I wanted to document my fabulous Mother’s Day weekend. 

Friday night we started off by going to have dinner at Katsuya which was fancy and delicious and very expensive but it was so worth doing it once! 

Then we walked across the street and we went to see SCHOOL OF ROCK at the Pantages Theater 


It was a fun musical especially if you have kids even my 10 year old was completely into it - the entire 2 hours! Without falling asleep - score!!

Saturday night we went to the Dodger game 


We ate and laughed and had a great time 

Sunday - Mother’s Day - my family made me a yummy breakfast and we opened gifts then we went to visit my mom at the cemetery 


Cleaned up her stone and left flowers for her and my brother - this day is the hardest every year because I can’t physically be with my mama 

Later that day we went to visit my husbands
mom and then we went to have dinner at Taco Surf on Sunset beach 


It was one of the better weekends I have had and truly enjoyed  myself - i wanted to document it while it was still fresh in my mind so I made a double sided layout with a pocket to hold my cards and tickets of the weekend. 


This is the front page with the pocket and all the cards and napkin from dinner and a rose my son gave me and my title I stamped on and I added one photo at the top 


And here is the back of the layout with more photos and tickets Stubs 

I’m trying to stay on top of the moments in my life so I think I will start scrapbooking again as these special moments happen. 

Happy Scrapbooking ya’ll 

T

Sunday, May 6, 2018

Teacher Appreciation Week

Found out tonight that this week is teacher appreciation week and each day is a specific gift idea 

Monday - sweet treats 

So because my sons teacher is male - I needed to think of something not too foo foo - and not the usual candy bar,  so we got him a gift card to Starbucks and the next task was I needed to find a pattern for a gift card holder.  

At 10:45 tonight I remembered that I needed to make the holder so I figured out my own pattern and made it using scraps of paper - 

This is the die & stamp set I used and the sidekick 


I love how small the side kick is - it really makes it more portable to pull out and now I use it all the time!  

I literally just folded up the middle to create a small pocket to hold the card but because the gusset I made to hold the card was too small I just added a glue dot on the back to hold it on which also  helps make it a pop-up too! 


Here is the front of  the card holder - I added a pop dot to the upper flap to hold the card shut and the back of this holder also has some of the teal paper which I left blank so my son can sign and date. 

& yes it came out so fun! Check out my Instagram for a cool boomerang of this idea 

Happy crafting 


Saturday, May 5, 2018

National Scrapbooking Day

Good Morning - it’s quite the day - two reasons to celebrate first its NATIONAL SCRAPBOOKING DAY & let’s not forget its CINCO DE MAYO - I mean can you stand it? 

In homor of the day - I want to share a fun little project I made using left over scrapbooking embellishments - one of my mottos is: use it all 

Here are the items you’ll need (by the way these stickers below are bling I bought at the dollar tree) e6000, magnets and round bling 


It’s pretty basic - add glue to the back then place on magnet and wait for it to dry! Easy peasy 


Here I share a video of all the kings I made with a paper kit and again trying not to waste the scraps 


Check back on Instagram for a fun giveaway - it’ll be happening all day today!!! 

Have a scrappy good day ya’ll!