Friday, January 17, 2020

POM POM Love


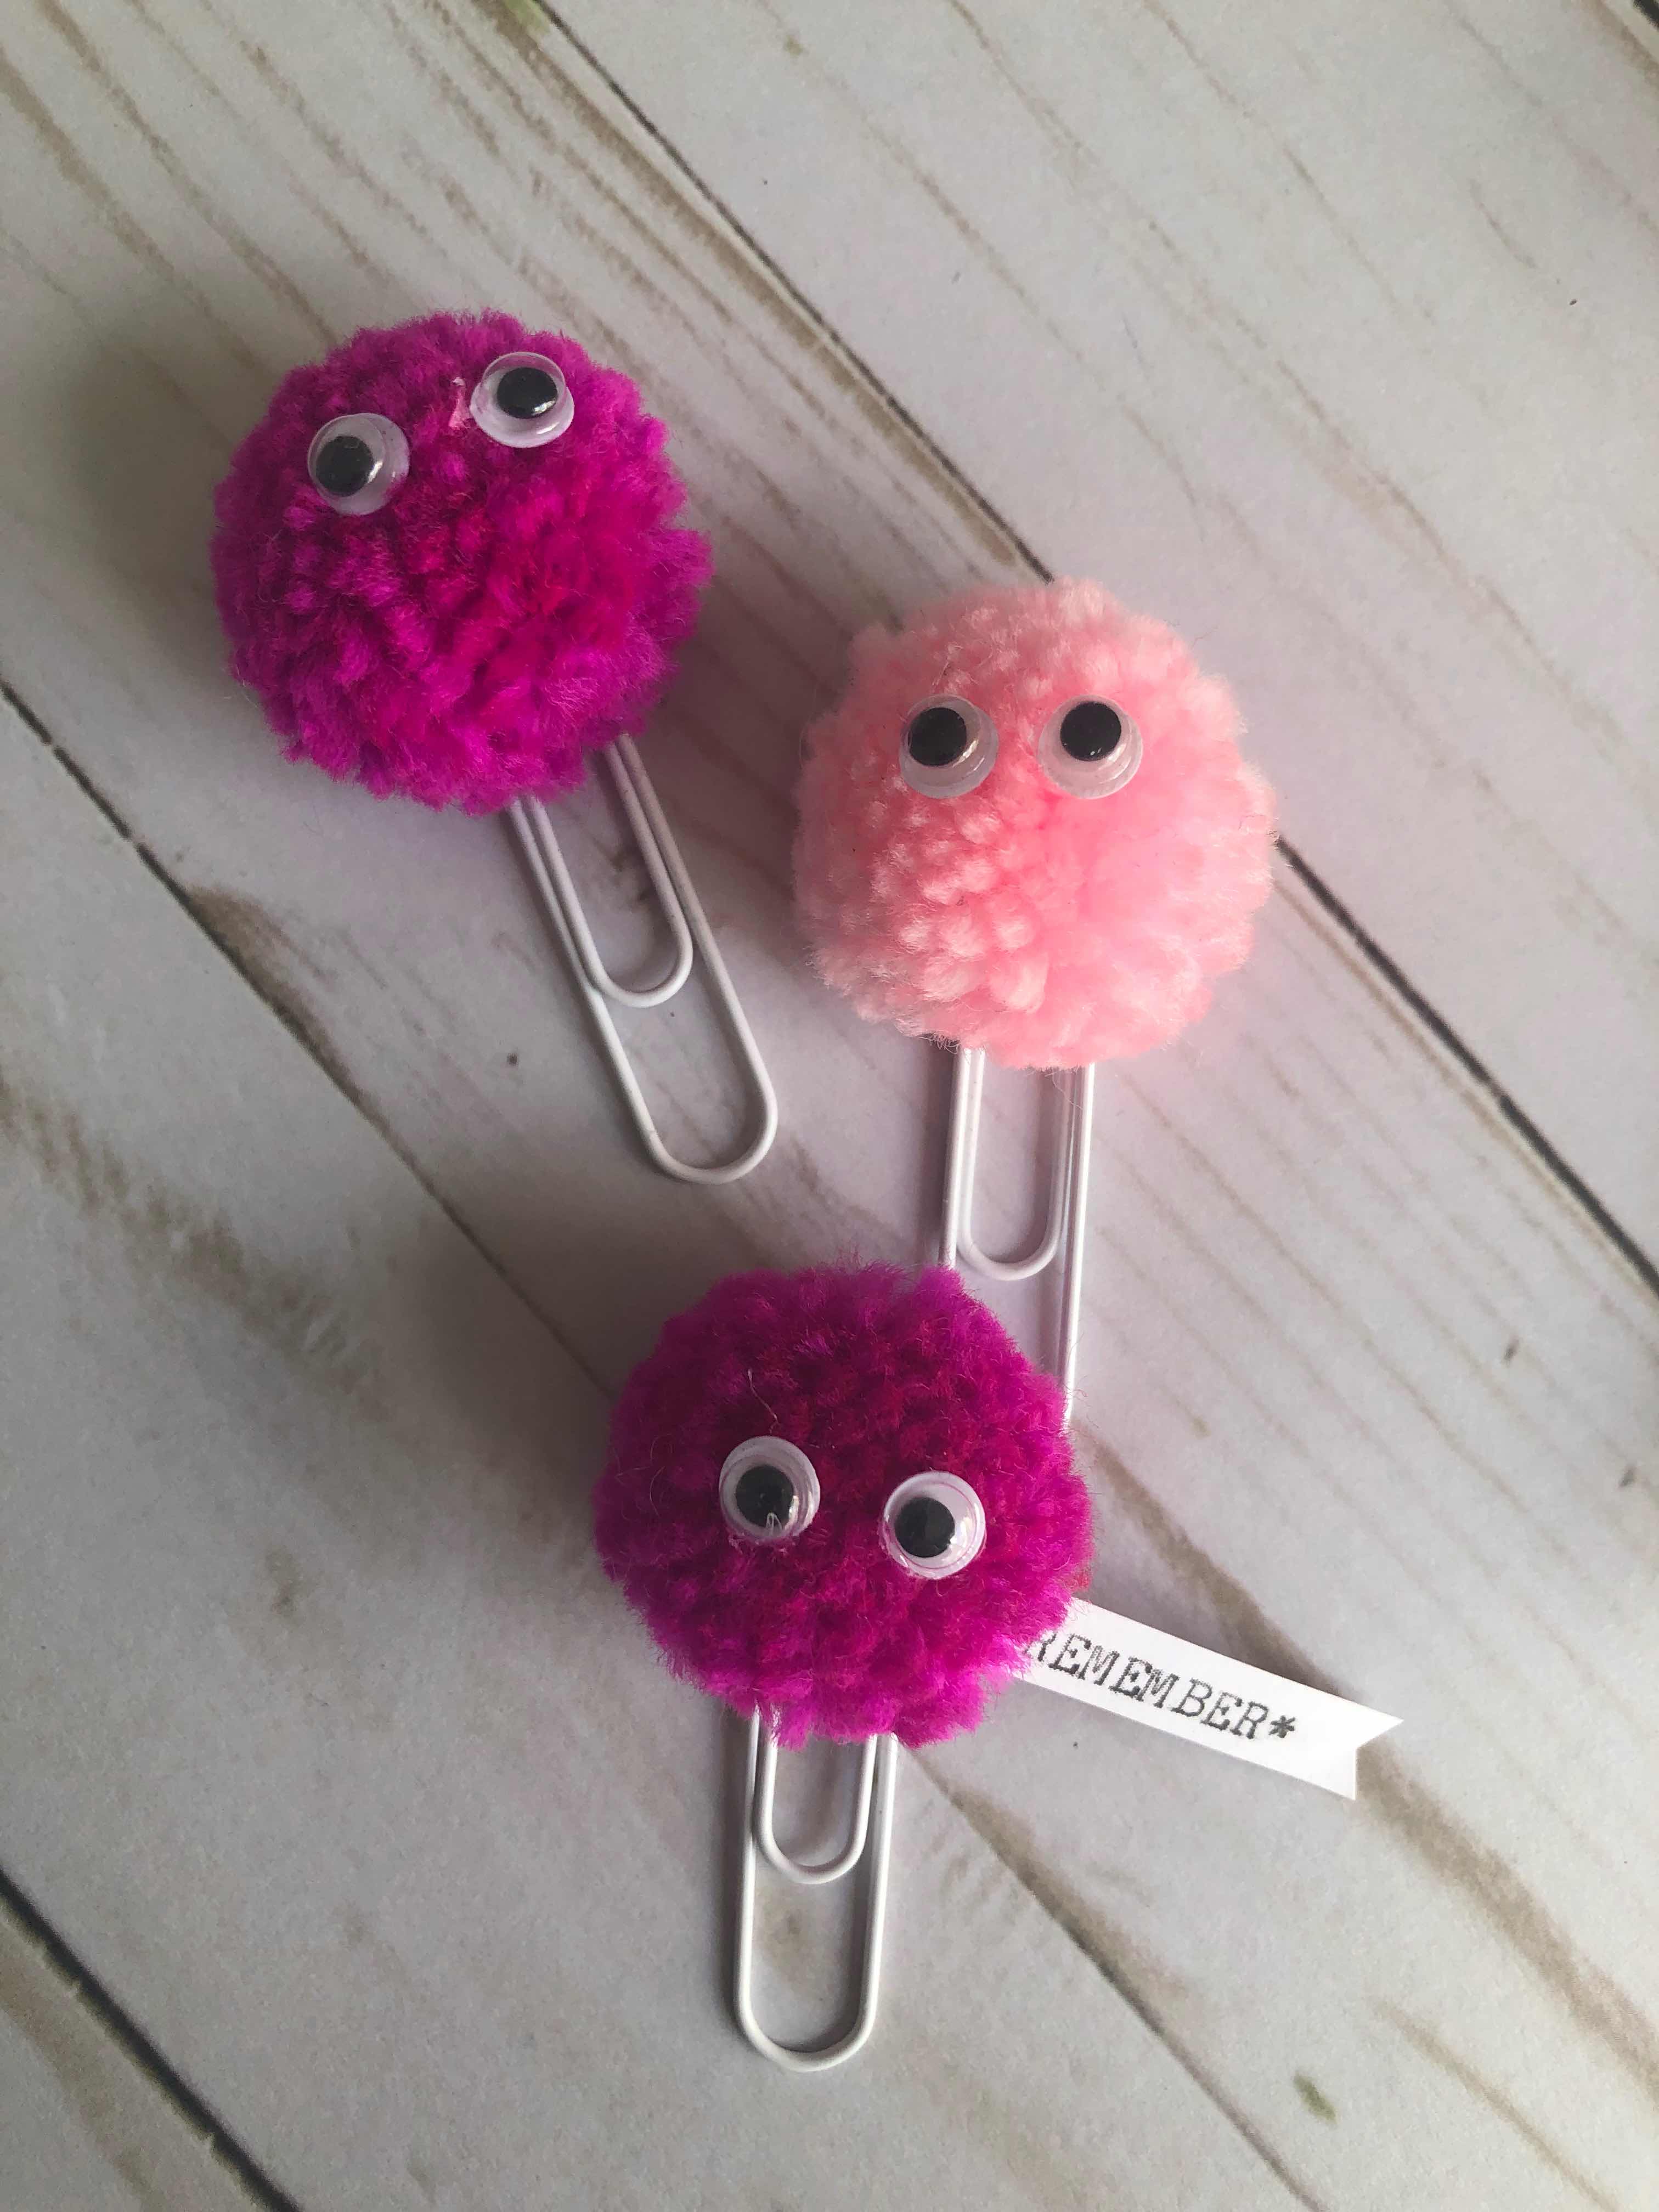
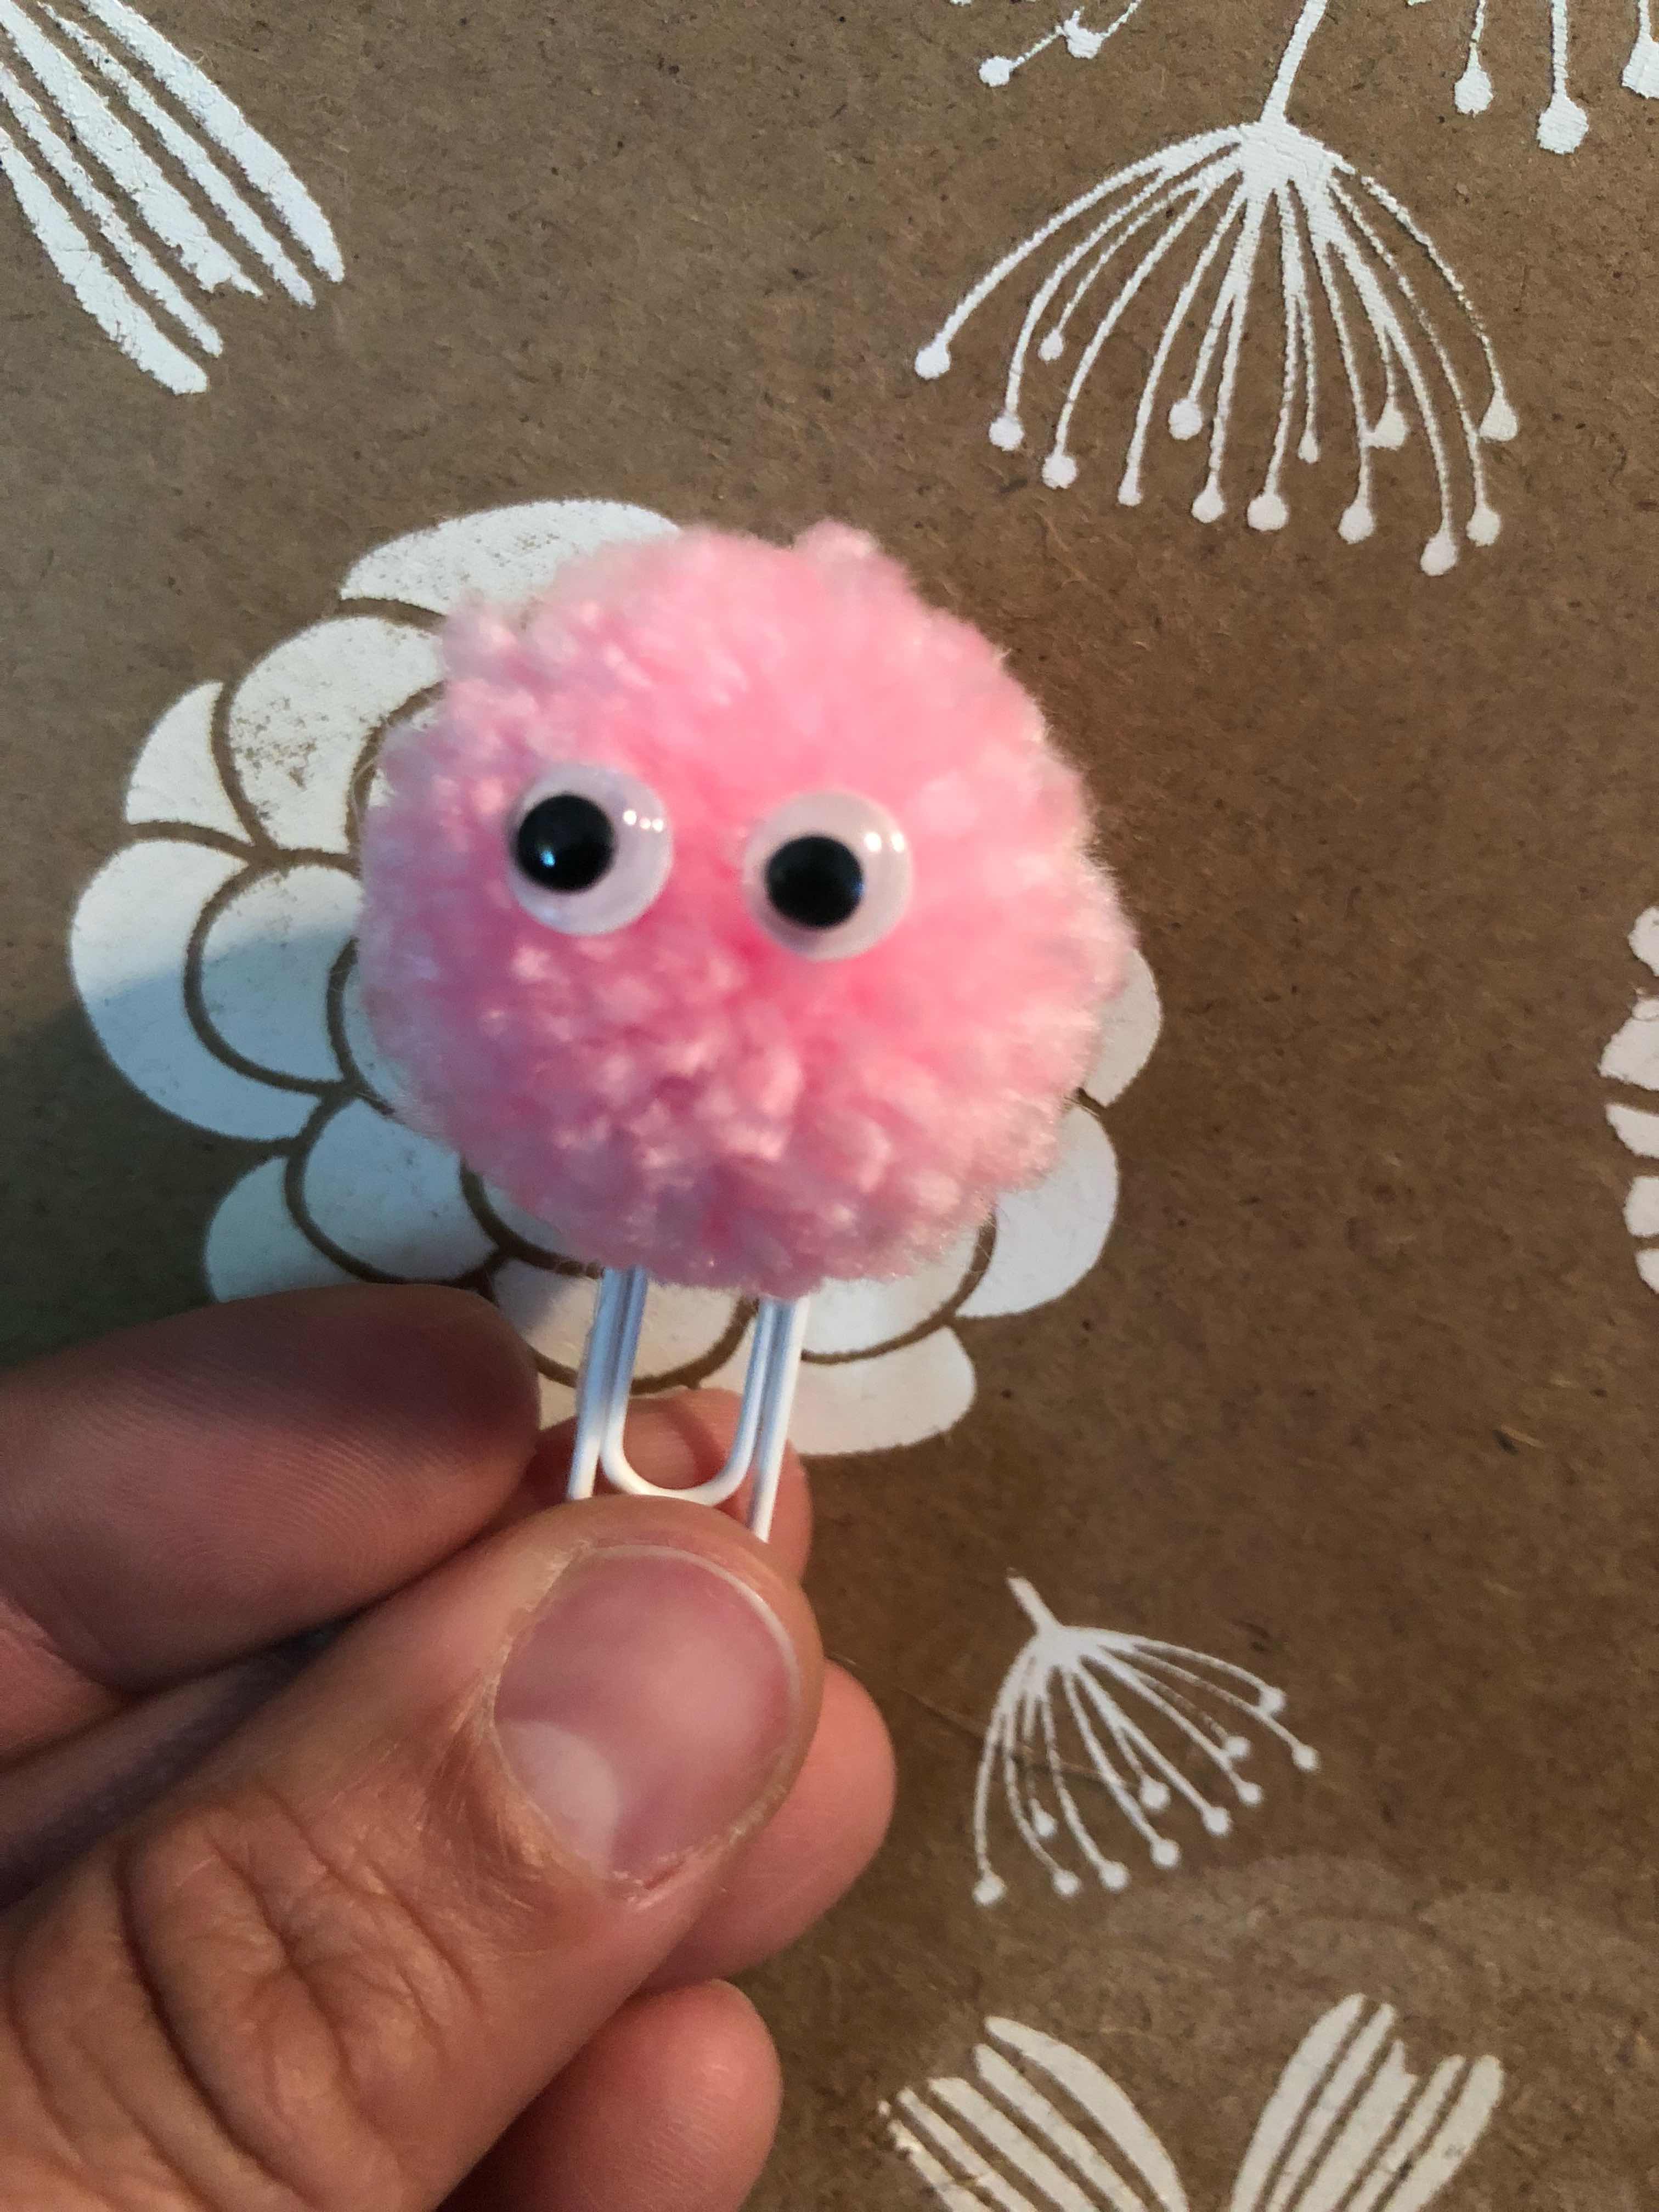
YA'LL I am so in LOVE with these Pom Poms - I have made them before but 
never with the extra thick yarns. I always used the basic crochet yarns.
I always made small ones and not so great at that. 
Also, can I just say - I have purchased several pom pom makers. For the life of me I can't
 figure them out. Like they never worked. I followed the directions but somehow they never 
tied off right.
So I did it the old fashioned way.
Using my hand...

It comes off your hand nice and easy and you can then easily see where to tie off the pom pom

Then you get to trim and fluff.
The pom pom makers do claim to not need trimming but 
I think when you have the chance to trim you can make the pom pom
as big or as small as you want.


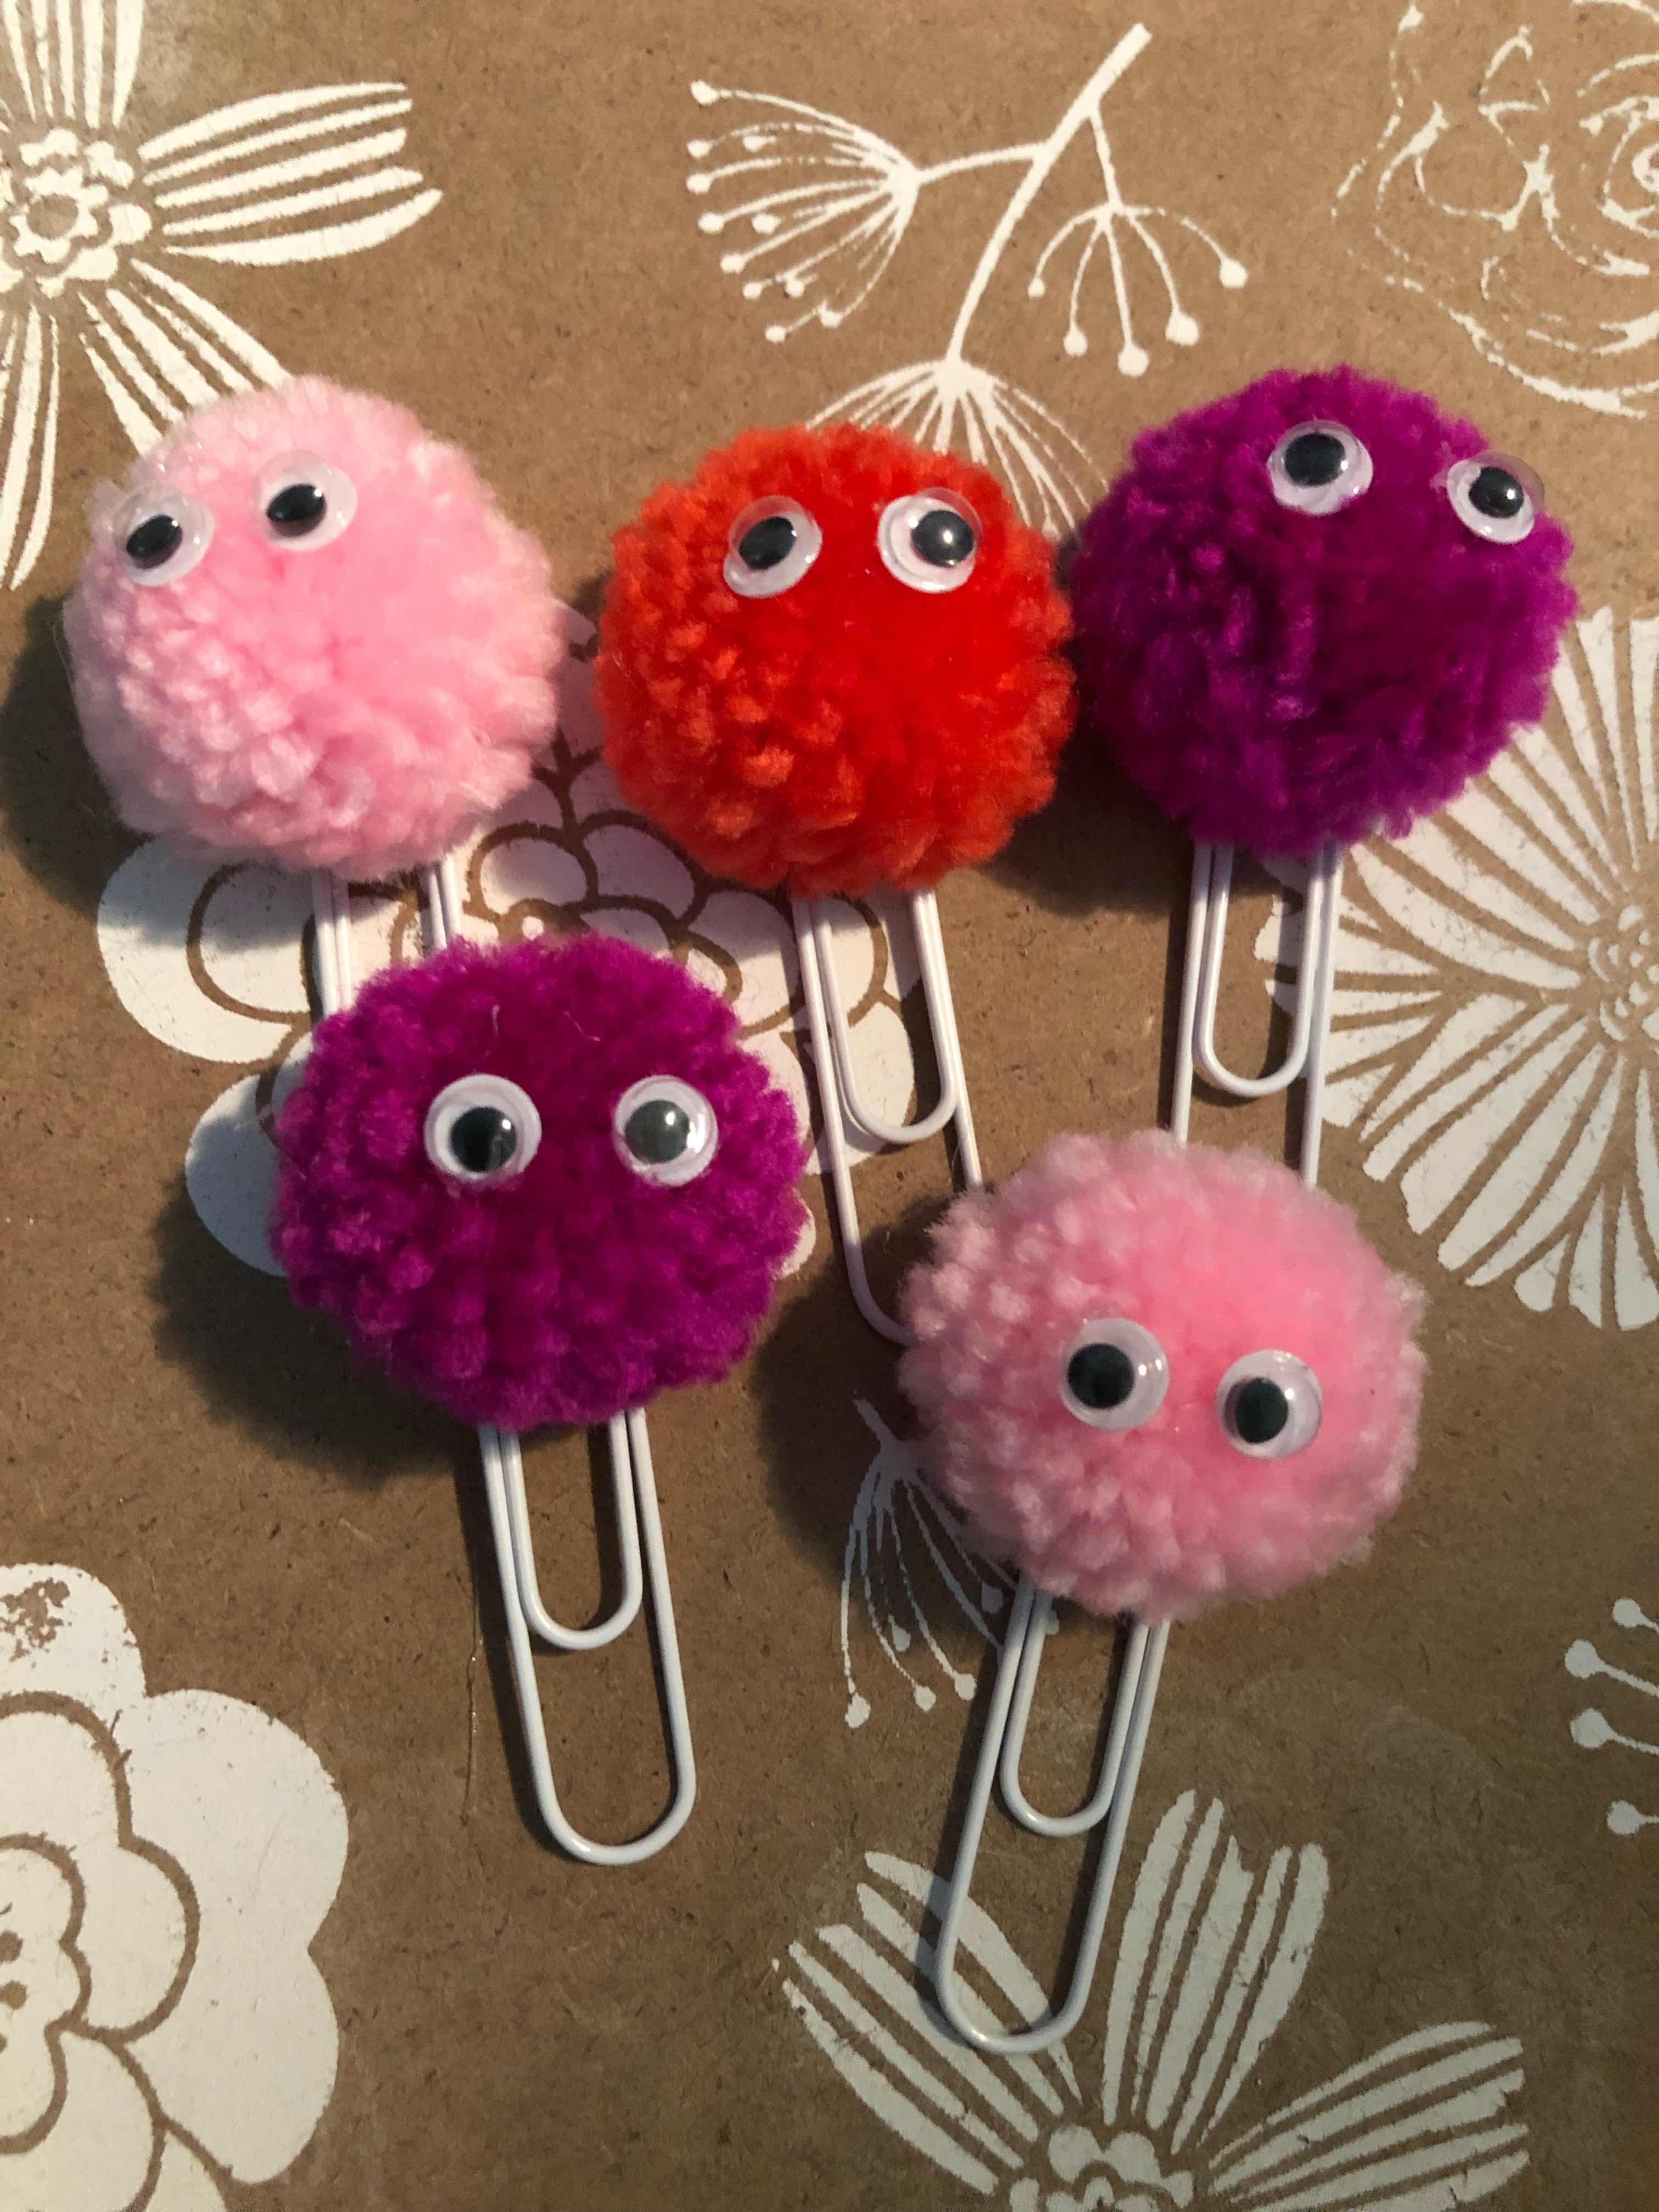
Ok some key things to keep in mind.

The fluffier yarns are better for pom pom making.
The kind you use for blankets and sweaters. They go on sale quite often at Joann's

This first pom pom was made using that fluffy sweater making yarn.


The pom pom below was made using standard crochet yarn
It doesn't fluff up as much. I think the smaller you make it the fuller it looks.


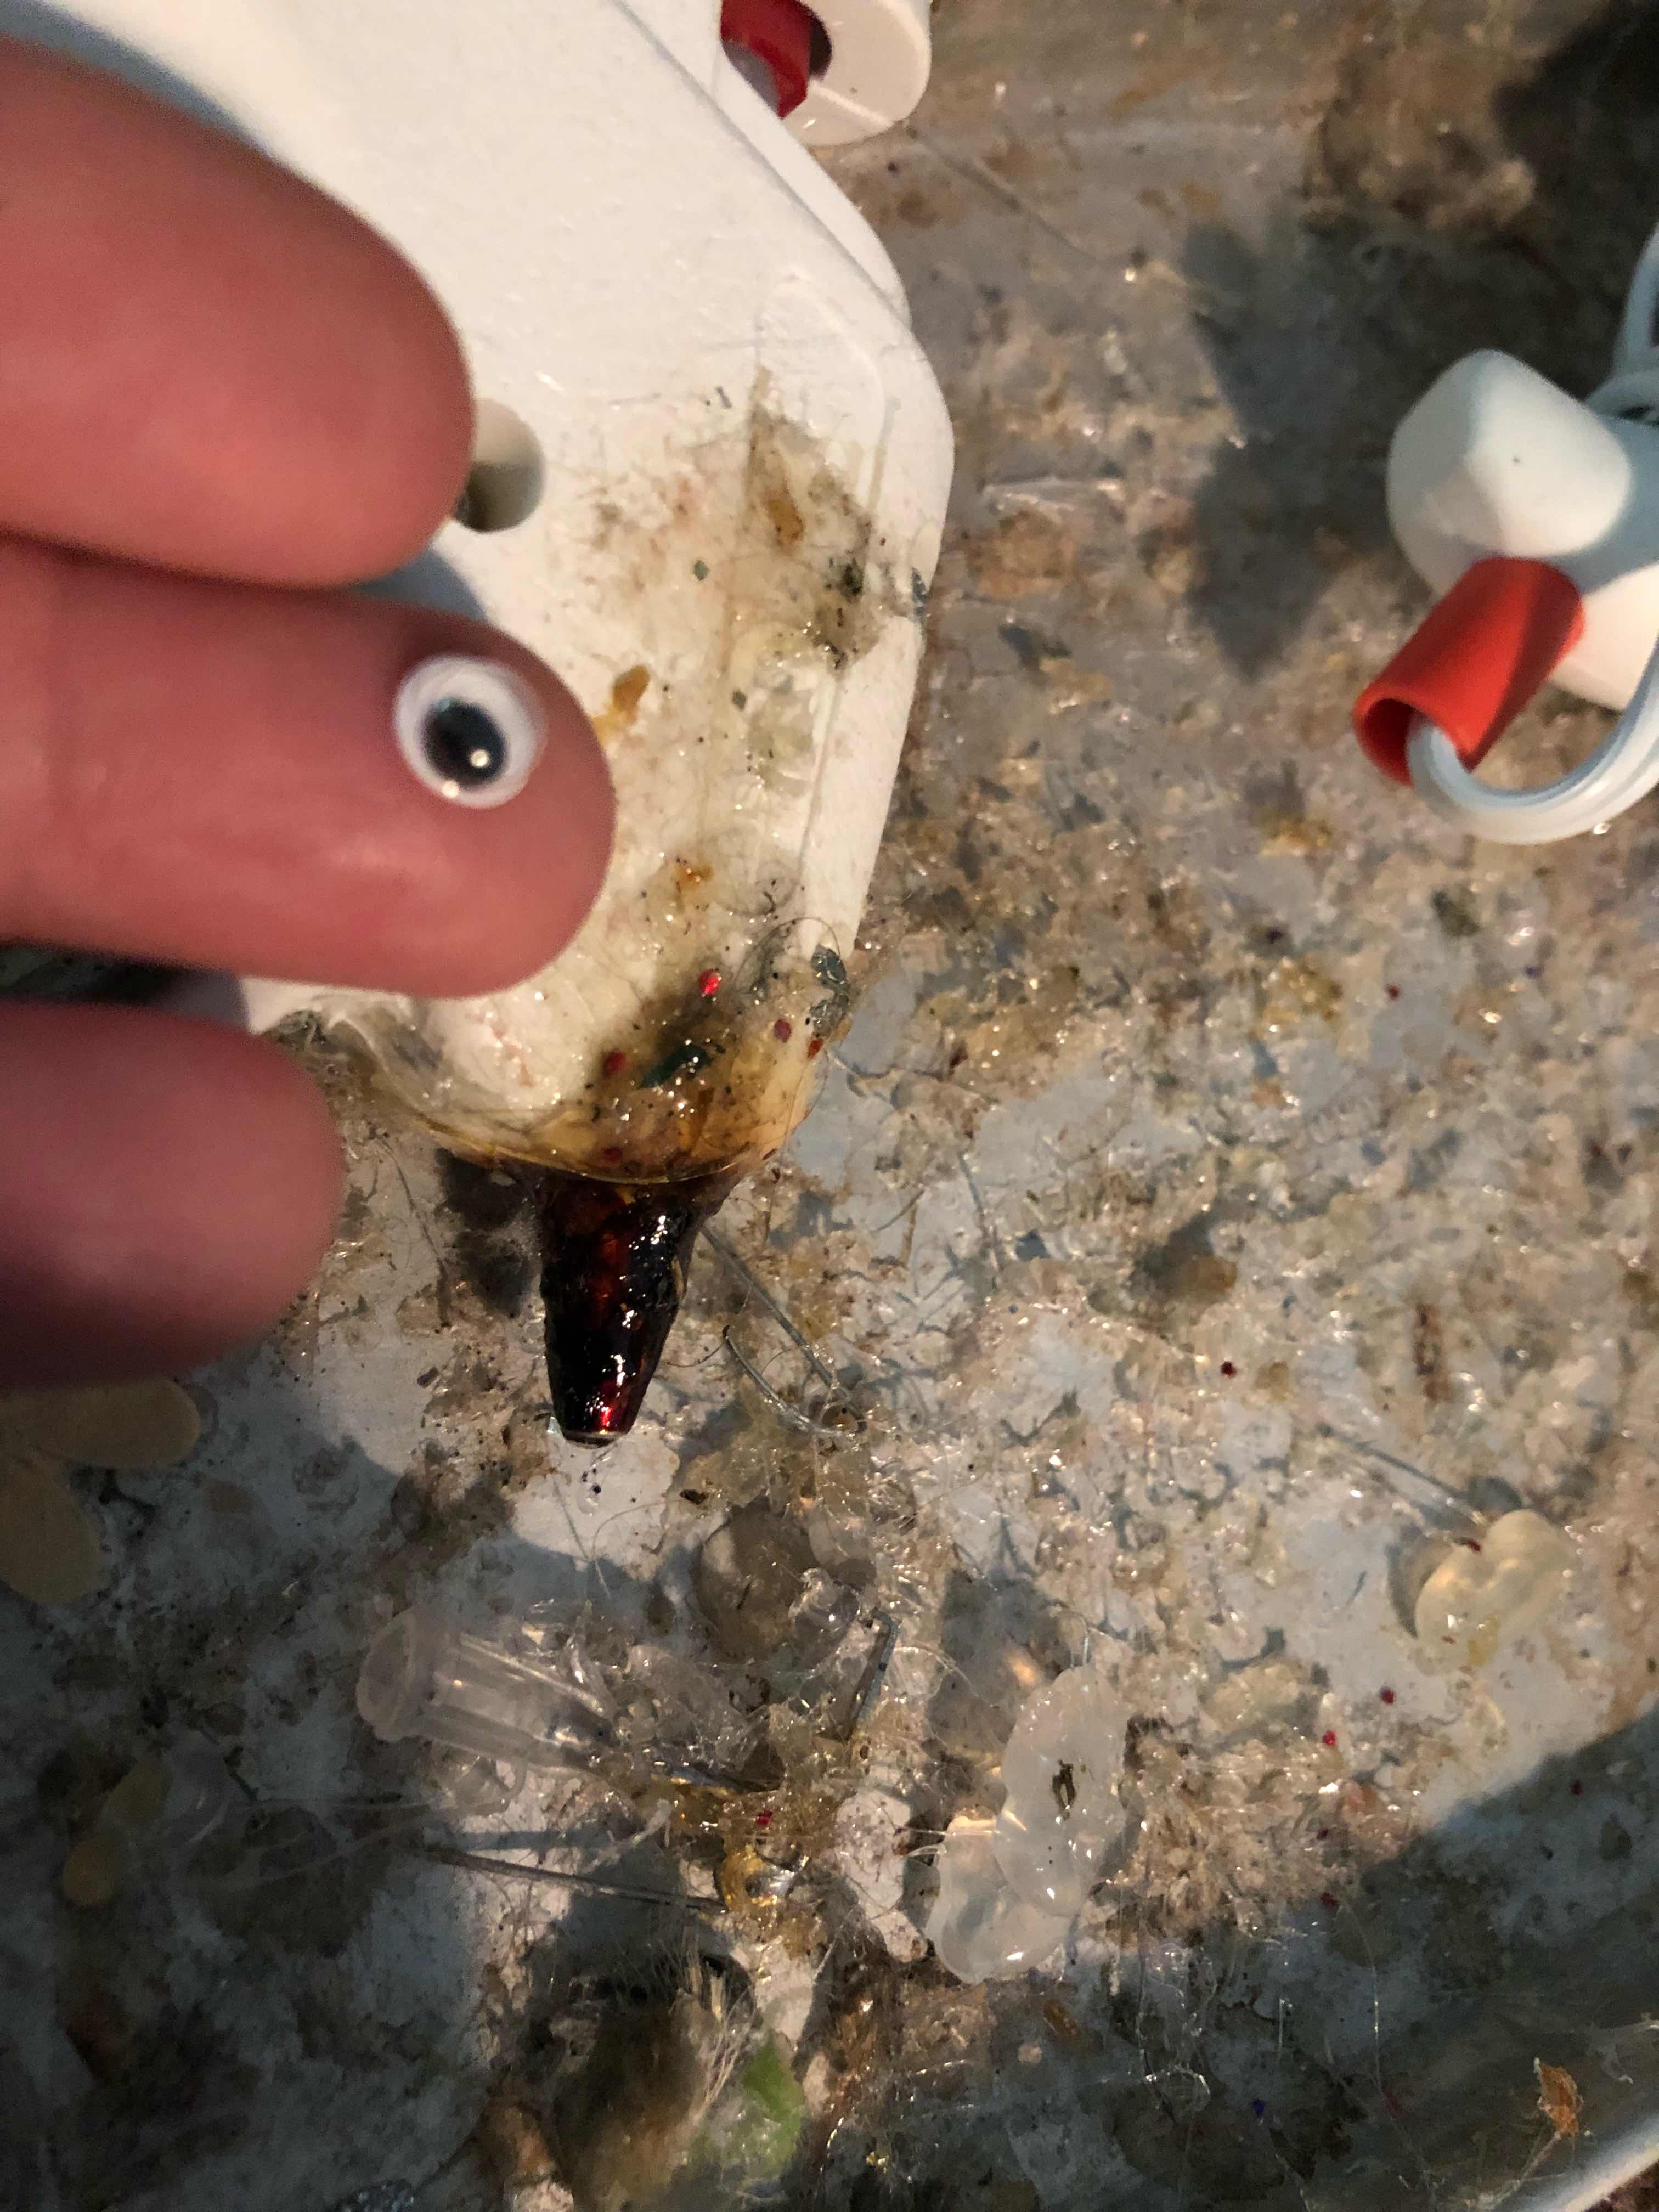
This yarn is vintage stock - its thick and has great color but the texture is course 
perhaps it was used to wrap gifts.
But this didn't fluff up and you can see the bald spots - it doesn't lay nicely.


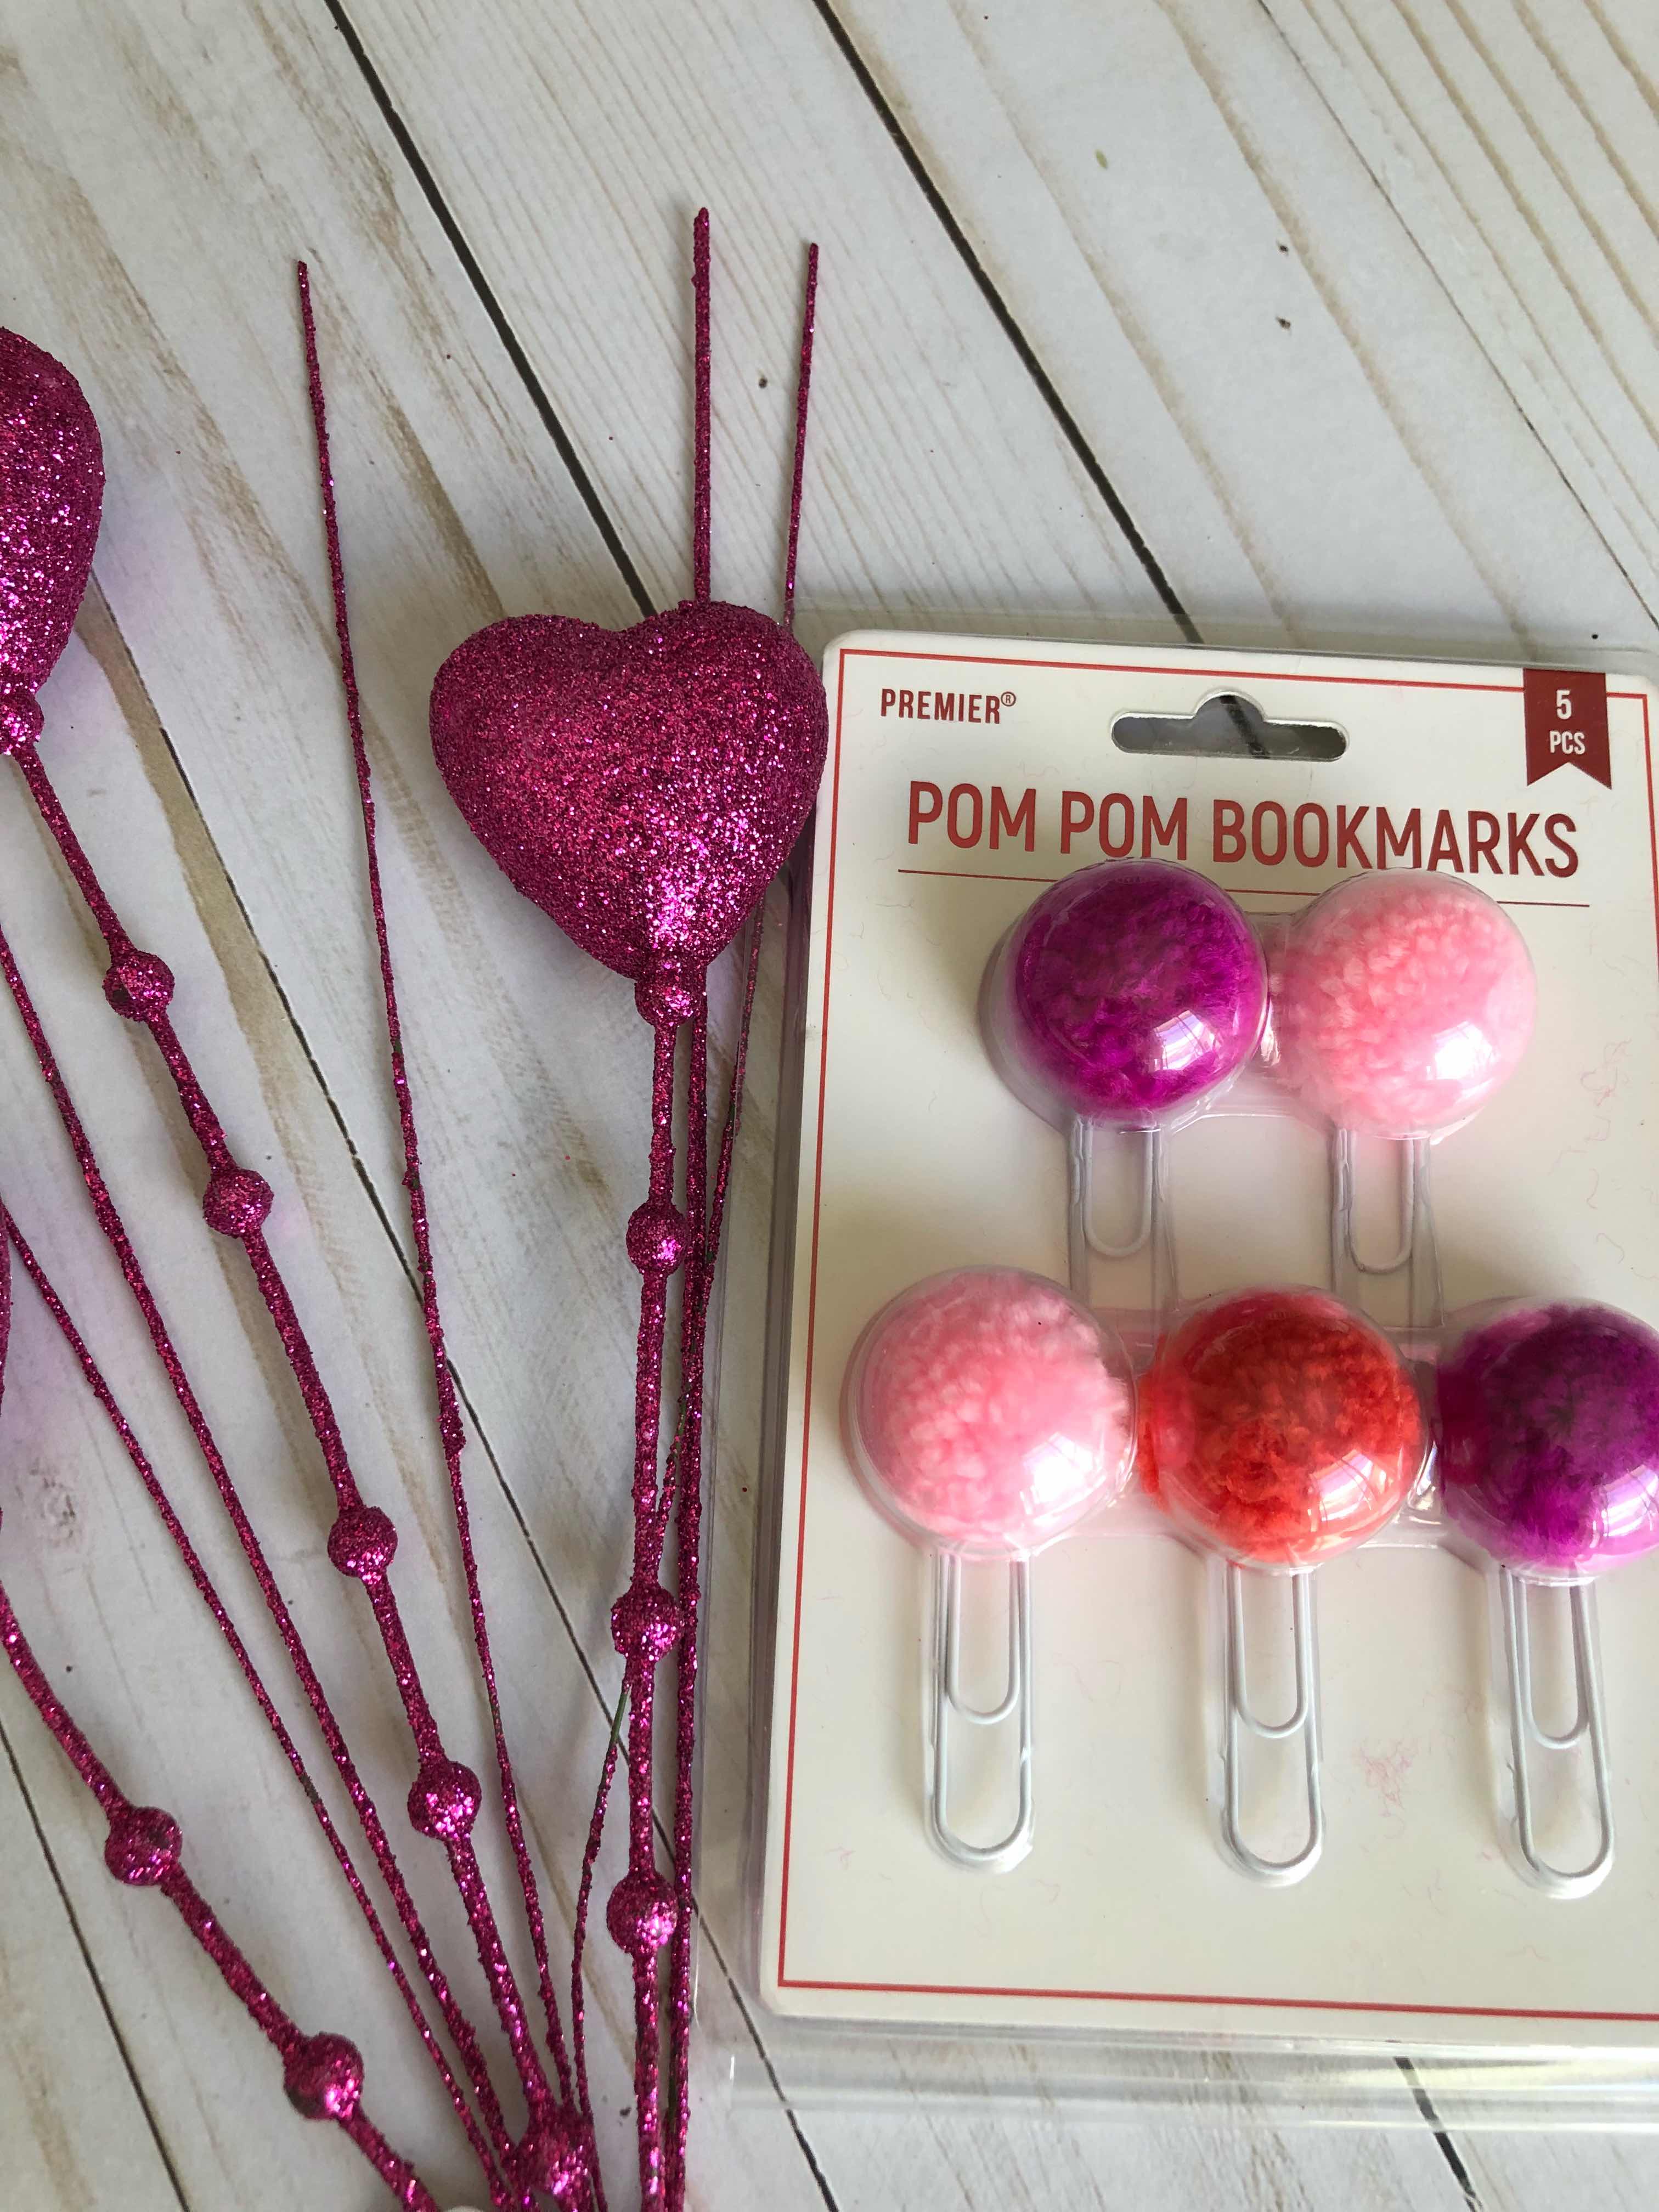
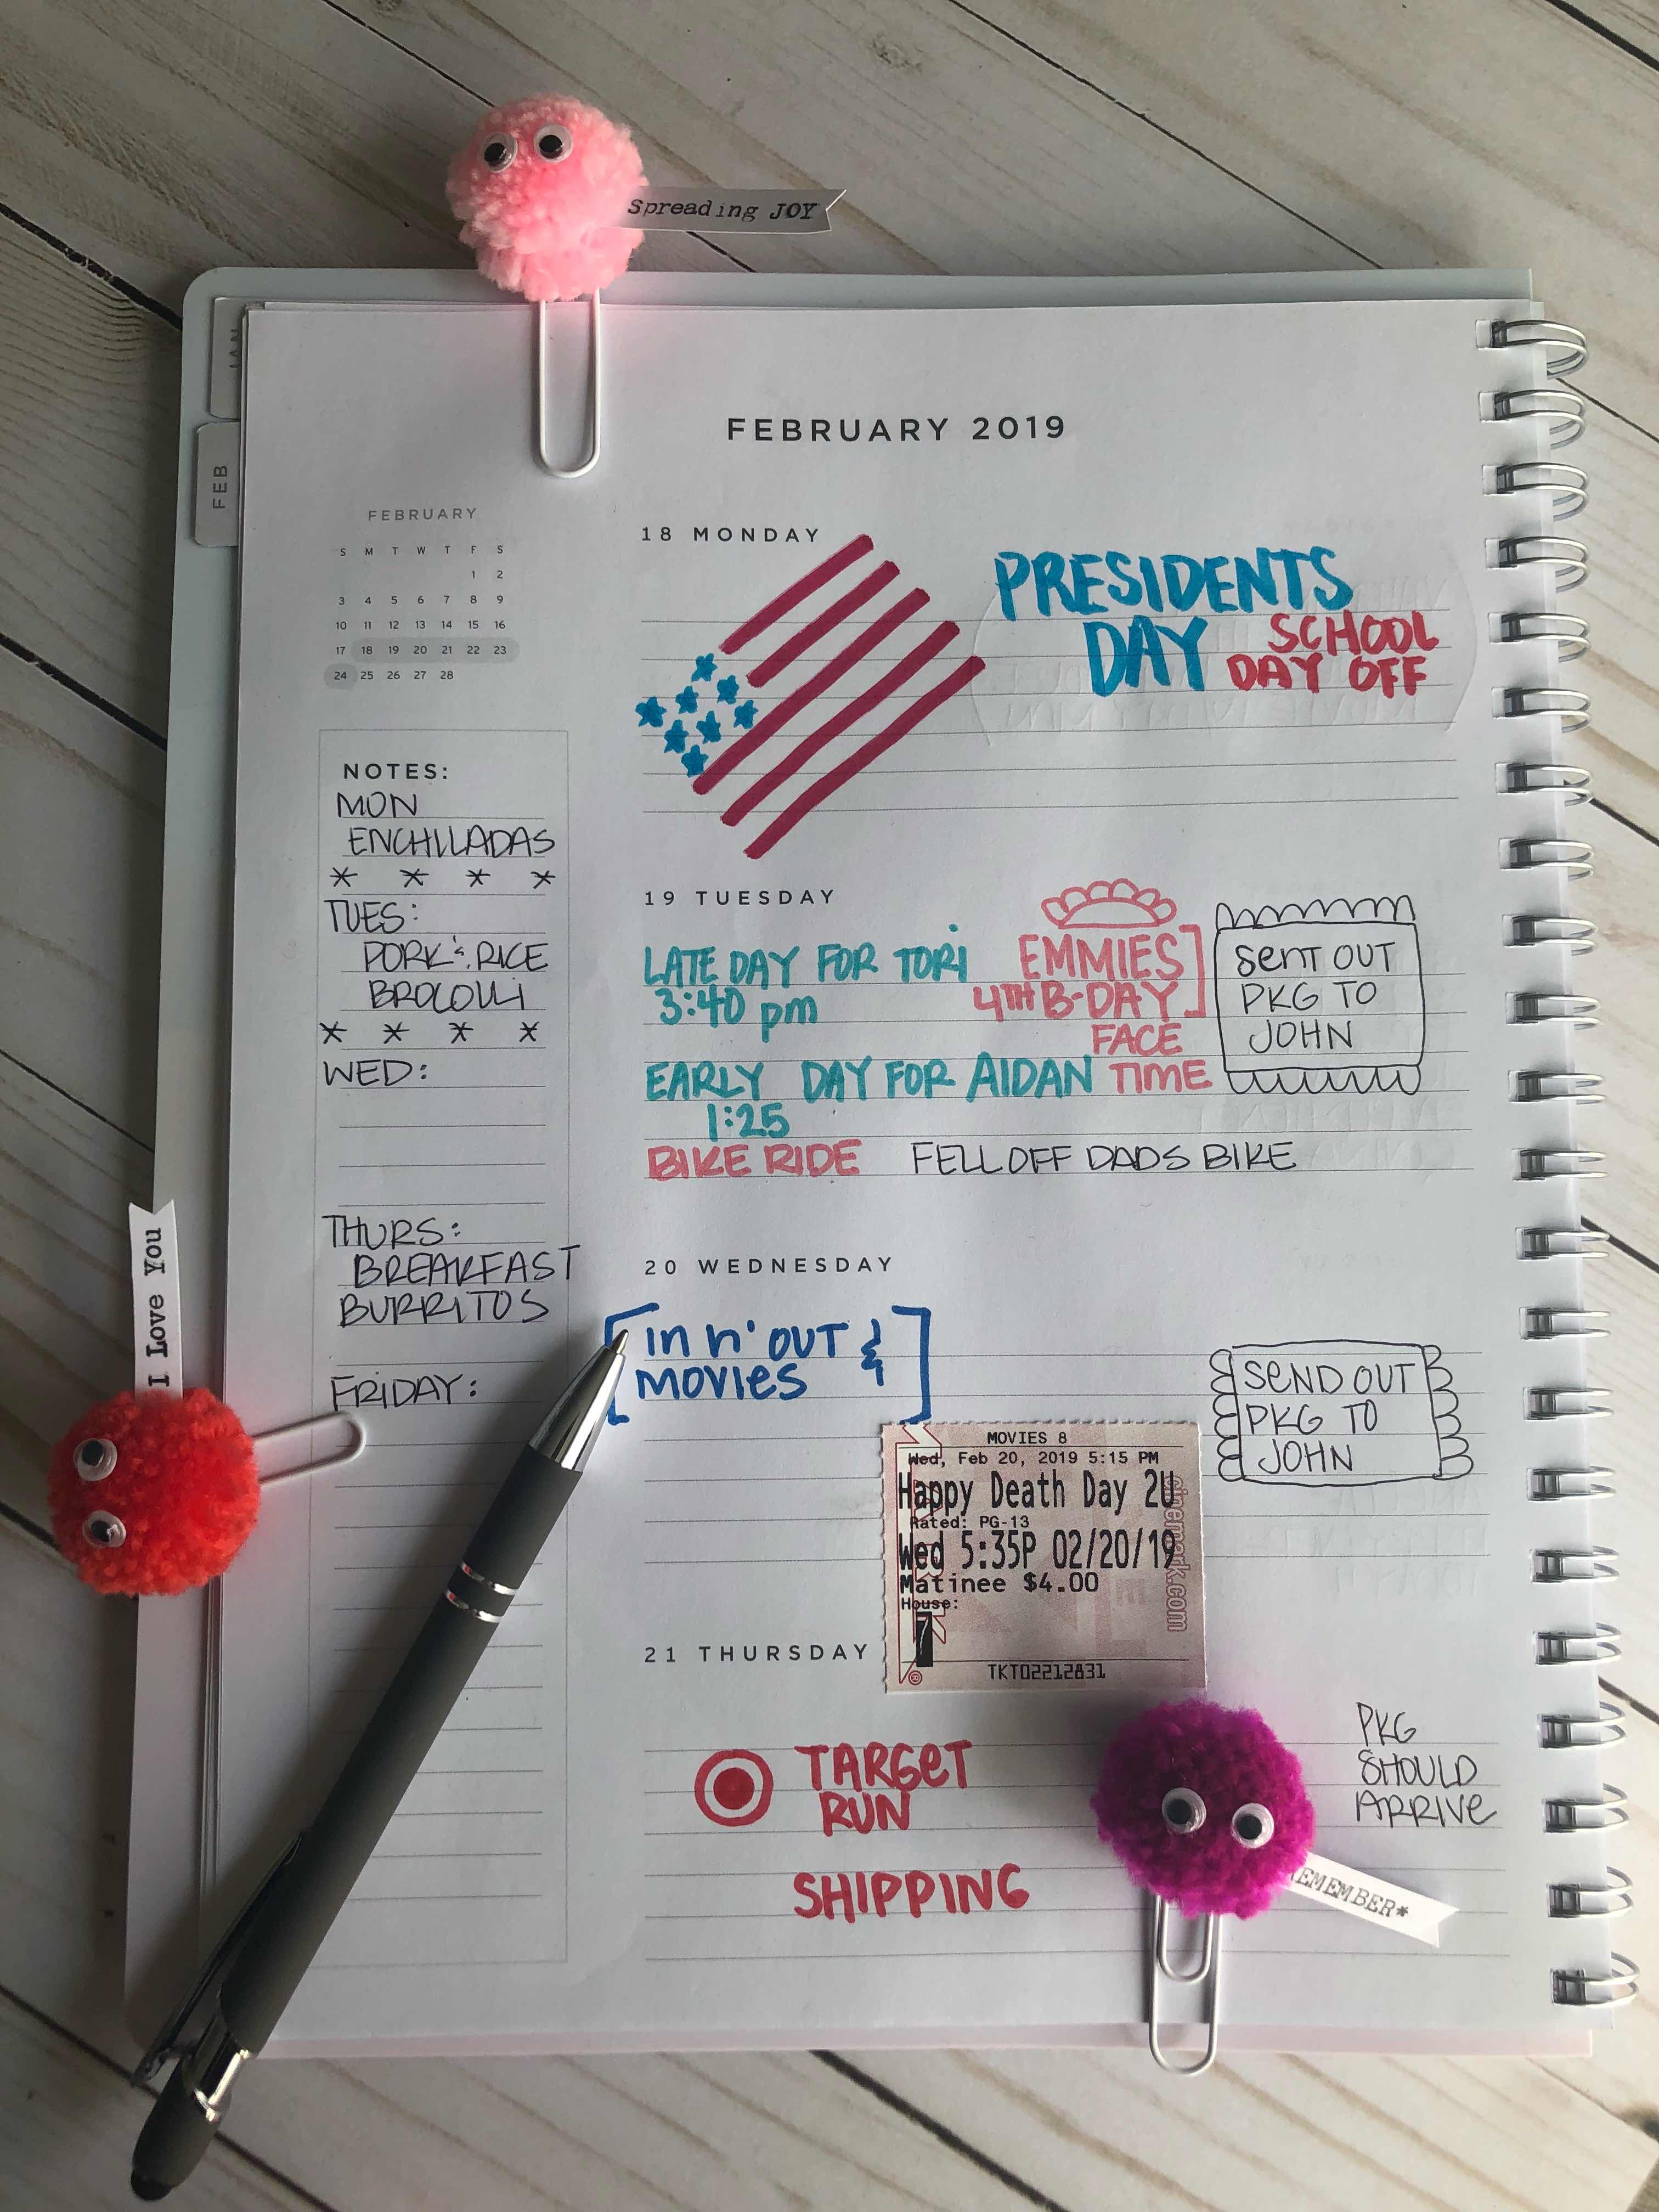
Thinking about using up those cute POM POMS
by making a fun Valentine's Day wreath.

I mean can it get much cuter than this?


Hope you try making some of these cuties.

Let me know if you try it out.

Happy Crafting friends


Friday, January 3, 2020

Happy New Decade - 2020

Happy New Year friends...


It has been a long while since I have been here on this blog. I think part of the reason was because I felt like what I had to say didn't really matter in the scheme of the crafty world.

I made stuff every day and all day, but just didn't feel like it was interesting enough to share. I think that falls with measuring up - feeling like I don't compare with other crafters.
 It was all self-inflicted misery (not really misery but just bad juju I was inflicting on myself) 

Comparison is the thief of creativity. 

but 
2020
is a 
NEW YEAR

no more worrying what others think. 
No more trying to impress others.
I will make cute stuff 
because I love to MAKE stuff 
plain and simple.

I hope you stick around and find something you like to make here on this blog
and if you make something I helped inspire please 
send me photos so I can see how amazing yours came out. 

Heres wishing you a fantastically creative 2020

xo


(fun mini desk calendars in my ETSY shop)

Thursday, March 21, 2019

Spring stand-up sign---tutorial

Hi there

I have been scrapbooking for 20+ yeas and if you recall the options for paper and stickers were pretty sad back then. When I found something I loved I bought a bunch of sheets and used it for everything. I would hand cut flowers and sometimes letters out of my special papers (this was before sizzix and cricut)

Todays project reminds me of some good Old school paper crafting


These paper flowers and brads came in a kit from Doodlebug Designs, aren't their paper kits the most amazing colors and graphics out there.


Here are the big BASIC flowers that were included in the kit.


I cut a 6 x 6 piece of chipboard and another piece for the stand up piece for the back (see old school papercrafting) and added the 1 sheet of paper that came in the flower kit


Then I stacked the piece of the flowers and added some pop dots for some additional dimension to the flowers (see below)


This was my first attempt at making a tag for the front of the spring sign

Terrible I know


Here's the finished tag on the front of the sign. 
100% better-don't you agree?


Here is the finished sign - isn't it the cutest thing ever. 
See my last post for the tutorial on how to make those No-Sew Spring Gnomes

Here' wishing Spring weather comes around sooner then later.

Happy Crafting Friends

Tina


Friday, March 15, 2019

Spring Gnomes - no sew project

I love me a good gnome - I usually make them with fabric and sew up the bodies and the hat - recently I created the sweetest rainbow gnomes and all DONE the NO SEW way!

Here’s the how to 


Supplies needed and don’t forget the glue gun or tacky glue if you’re doing it with kids.


Wrap the paper machine cone with your fabric and glue the edges down. 


Do the same with the hat made of felt that should be cut in a cone shape 


Wait for it to dry - then flip it inside out 


Add a small patch of fur - before gluing add the hat and see where you should glue it down - then do so and then after that glue down the hat 

Once that dries you can add your wooden nose or a felt Pom Pom if that’s what you have on hand 


And if you feel like it you can make a whole rainbow go cute gnomes - like I did.

Or how about you do them all green for St. Patrick’s Day 

Oh the possibilities are endless 
Happy crafting friends


Tina 

Thursday, February 21, 2019

Fuzzy goodness-craft project

Cute is always a great idea and sometimes Cute can be a fun accessory.  

Today I wanted to share this fun planner clip idea that I had originally planned to share around Valentines Day. 


By the way - all the items I used for this project are from the 99 cent store. 


I used my handy glue gun to add the eyes to the Pom poms 


Be careful because the gun gets hot and you literally are working with a small work surface but I think it’s faster then using a white glue. Tweezers would help for sure, I’m just not coordinated. 


So cute 


Then to add a little something extra (if you were using them for Valentines a Day) you could add some fun words with your type writer - which is reminiscent of WARM FUZZIES - tots 1970’s craft 


What an inexpensive craft project and how cute are they in your planner - great accessory right? 

Here’s to getting your craft on today. 

xo 
Tina